Have you tried changing the z hop?
The Zero has a load cell under the bed and calibrates the distance between nozzle touch and eddy measurement! So i would expect that it works flawless.
I understand that the use of the load cell for levelling was removed in 1.4.x firmware
I think you’re right that the inductive probe is sensing the metal underneath, not the G10 surface.
As for changing the code, I think I’ll go with stock Klipper and deal with that. I’d rather deal with a standard environment even if I lose for the moment some of Sovol’s tweaks.
Ah, but it doesn’t. I think @chan.twisticles is correct. My firmware is 1.4.7.
Oh, i never realized that. Does anyone know why it was removed.
Because it didn’t work well
The way they mounted the loadcell requires the build plate and heated bed to “bend” in the middle to get an output from the loadcell.
Combine that with the discovery that they can detect nozzle contact by watching the eddy sensor output as the nozzle touches then lifts. The revised Z offset calibration macro SHOULD accommodate a thicker buildplate coating coating unless it is VERY squishy.
I just received my BIQU CryoGrip Glacier plate and cut it down to fit the Sovol. So far I am very happy with it, doing some test prints right now. Cutting down with a Dremel works fine and takes only 15min. I got the plate for about 11$, so I think it’s a good deal.

Update: Did two PLA test prints with a hollow long cube (2 walls):

With the Glacier plate I could lift the build plate up only holding on the printed piece. Bed adhesion was very good! Same print with the original plate came loose by barely touching it.
https://a.aliexpress.com/\_ooyqDdTAnother 160mm build plate option from Ali.
I wanted smooth and textured but what was delivered was textured both sides. I’m following up.

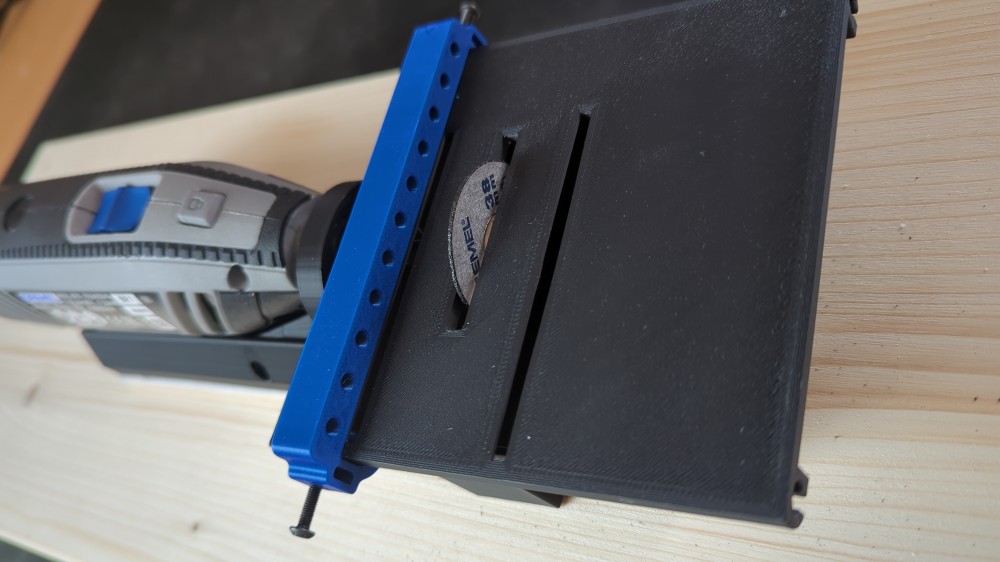
I now also bought the BIQU CryoGrip Frostbite plate and trimmed it down. The first time I did it with a Dremel “by hand”, now I printed the mini Dremel table saw (Table saw for Dremel by Fearless | Download free STL model | Printables.com) and the result is much better. Here are some photos:
The table saw

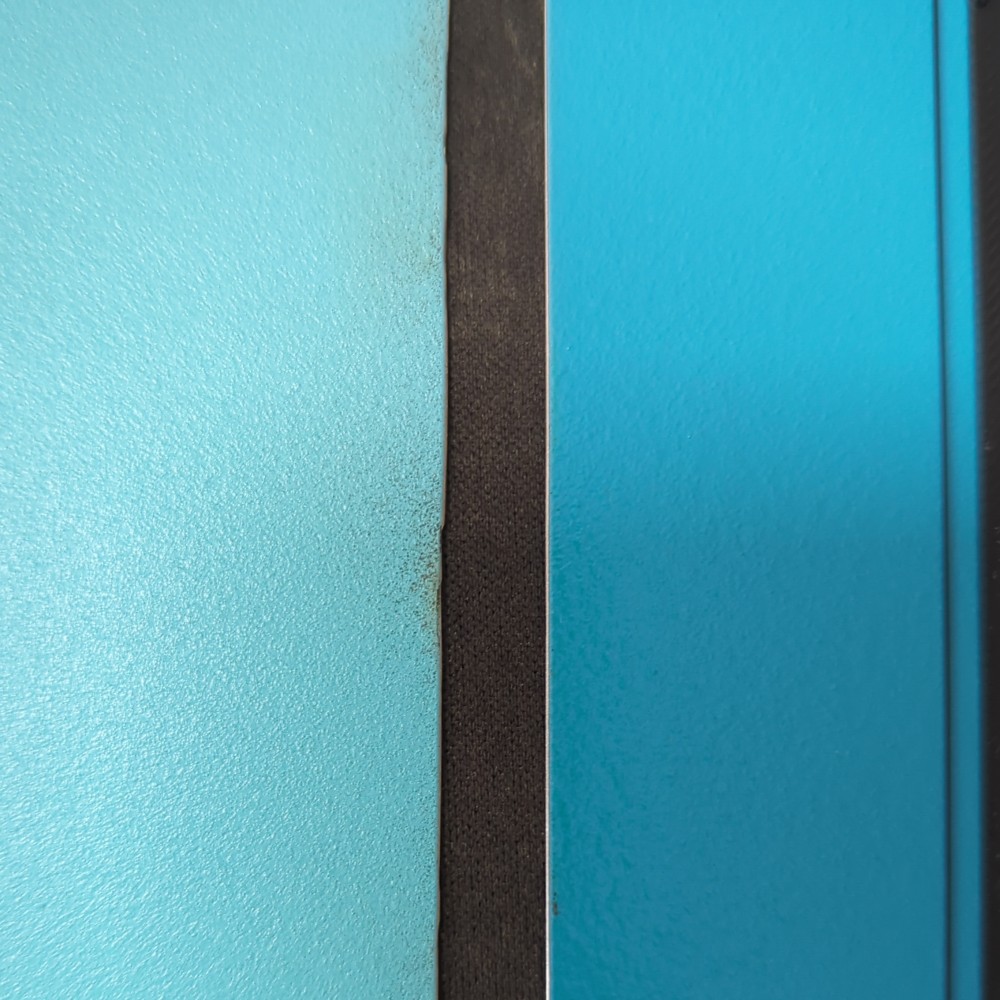
Comparison, left by hand, right with table saw
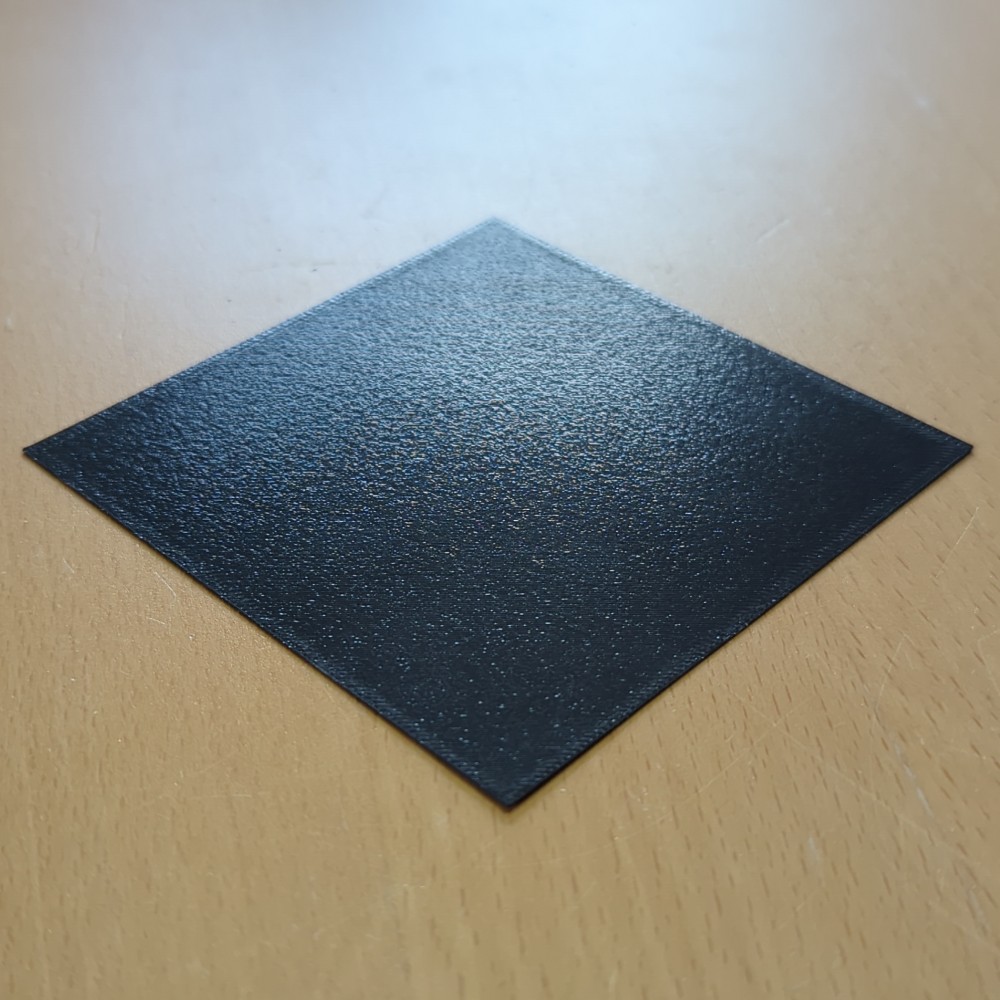
Build plates side by side

Perfect first layer with Frostbyte plate

I have been using a Creality epoxy plate I bought for my K1 that I cut down for my Zero. I like these plates, the texture is minimal and it gives good adhesion with the filaments I commonly use. Many filaments stick better on this than the stock PEI sheet at bed temps 5 to 10 C lower. The plate is double sided and inexpensive, current sale price on Amazon is $7.99.
I cut mine fast with a jig saw using a fine tooth blade for cutting metal. I snugly clamped the plate between 2 sheets of 1/8” plywood to give it support while cutting. The cut left a modest burr which cleaned up fairly easily with a hand file. I cut over sized, roughly 175 mm per side so the cut edges are far from the print area in case there was any warping of the plate near the cuts. The excess also means there was little need for precision in measurement or the straightness of the cuts.
Hey everyone!
Im actually working on getting some custom build plates made specifically for the zero. Ive got them being manufactured now and should be arriving to me soon. I have a pre-order special going on now for anyone interested. Going to be gold textured per on both sides.
I’ve finally had the time to install the OSEQ plate i ordered. Filed down the lip and it fits nicely now.
The thickness seems to not really matter for the z offset. Will do a calibration later. Adhesion is good, better than the original for certain filaments. But I am not too sure what the intended filaments are for this coating. I’ve never seen this type of powder coat before. As you can see its very matte.


UPDATE:
The first layer test looks really good! I don’t have to implement any compensation for the new plate! So far I’m pretty happy with it.
Both PLA and ASA worked great. Will try some PETG from sovol when it arrives too.
If anyone in the EU is interested in these plates, OSEQ has a major sale going on right now. I ordered some more plates for my other printers and got a 70% discount.

Do yo have a link? oseq.cz “has ceased operations”
The link posted above works…I just tried it.
This one is working, thank you. The OSEQ plates that daj00tje was talking about seems to have closed.
Last week, the Tyson build plate I ordered arrived.
So far, I like it. It’s got a light texture on the surface, closer to satin than regular textured. It kind of reminds me of a light “non-skid” texture. The plate itself is heavy, definitely more than standard, a bit stiffer (0.75mm T95).
I haven’t got a lot of prints on it yet, but I did a few PETG prints and an ASA print (multiple objects). My prints have stuck to it perfectly, even the ASA prints. No glue/bed adhesive was used, just bare plate. And when it cools, the prints just slide off, both PETG and ASA.