I was planning to shim under the front screws that mount the bed to the Z axes to lift the front of my Zero’s print bed, but Gergo just posted a video that shows a more precise method of leveling the Zero bed, that’s not much more difficult. I posted a new thread detailing my Zero bed leveling adventures and misadventures.
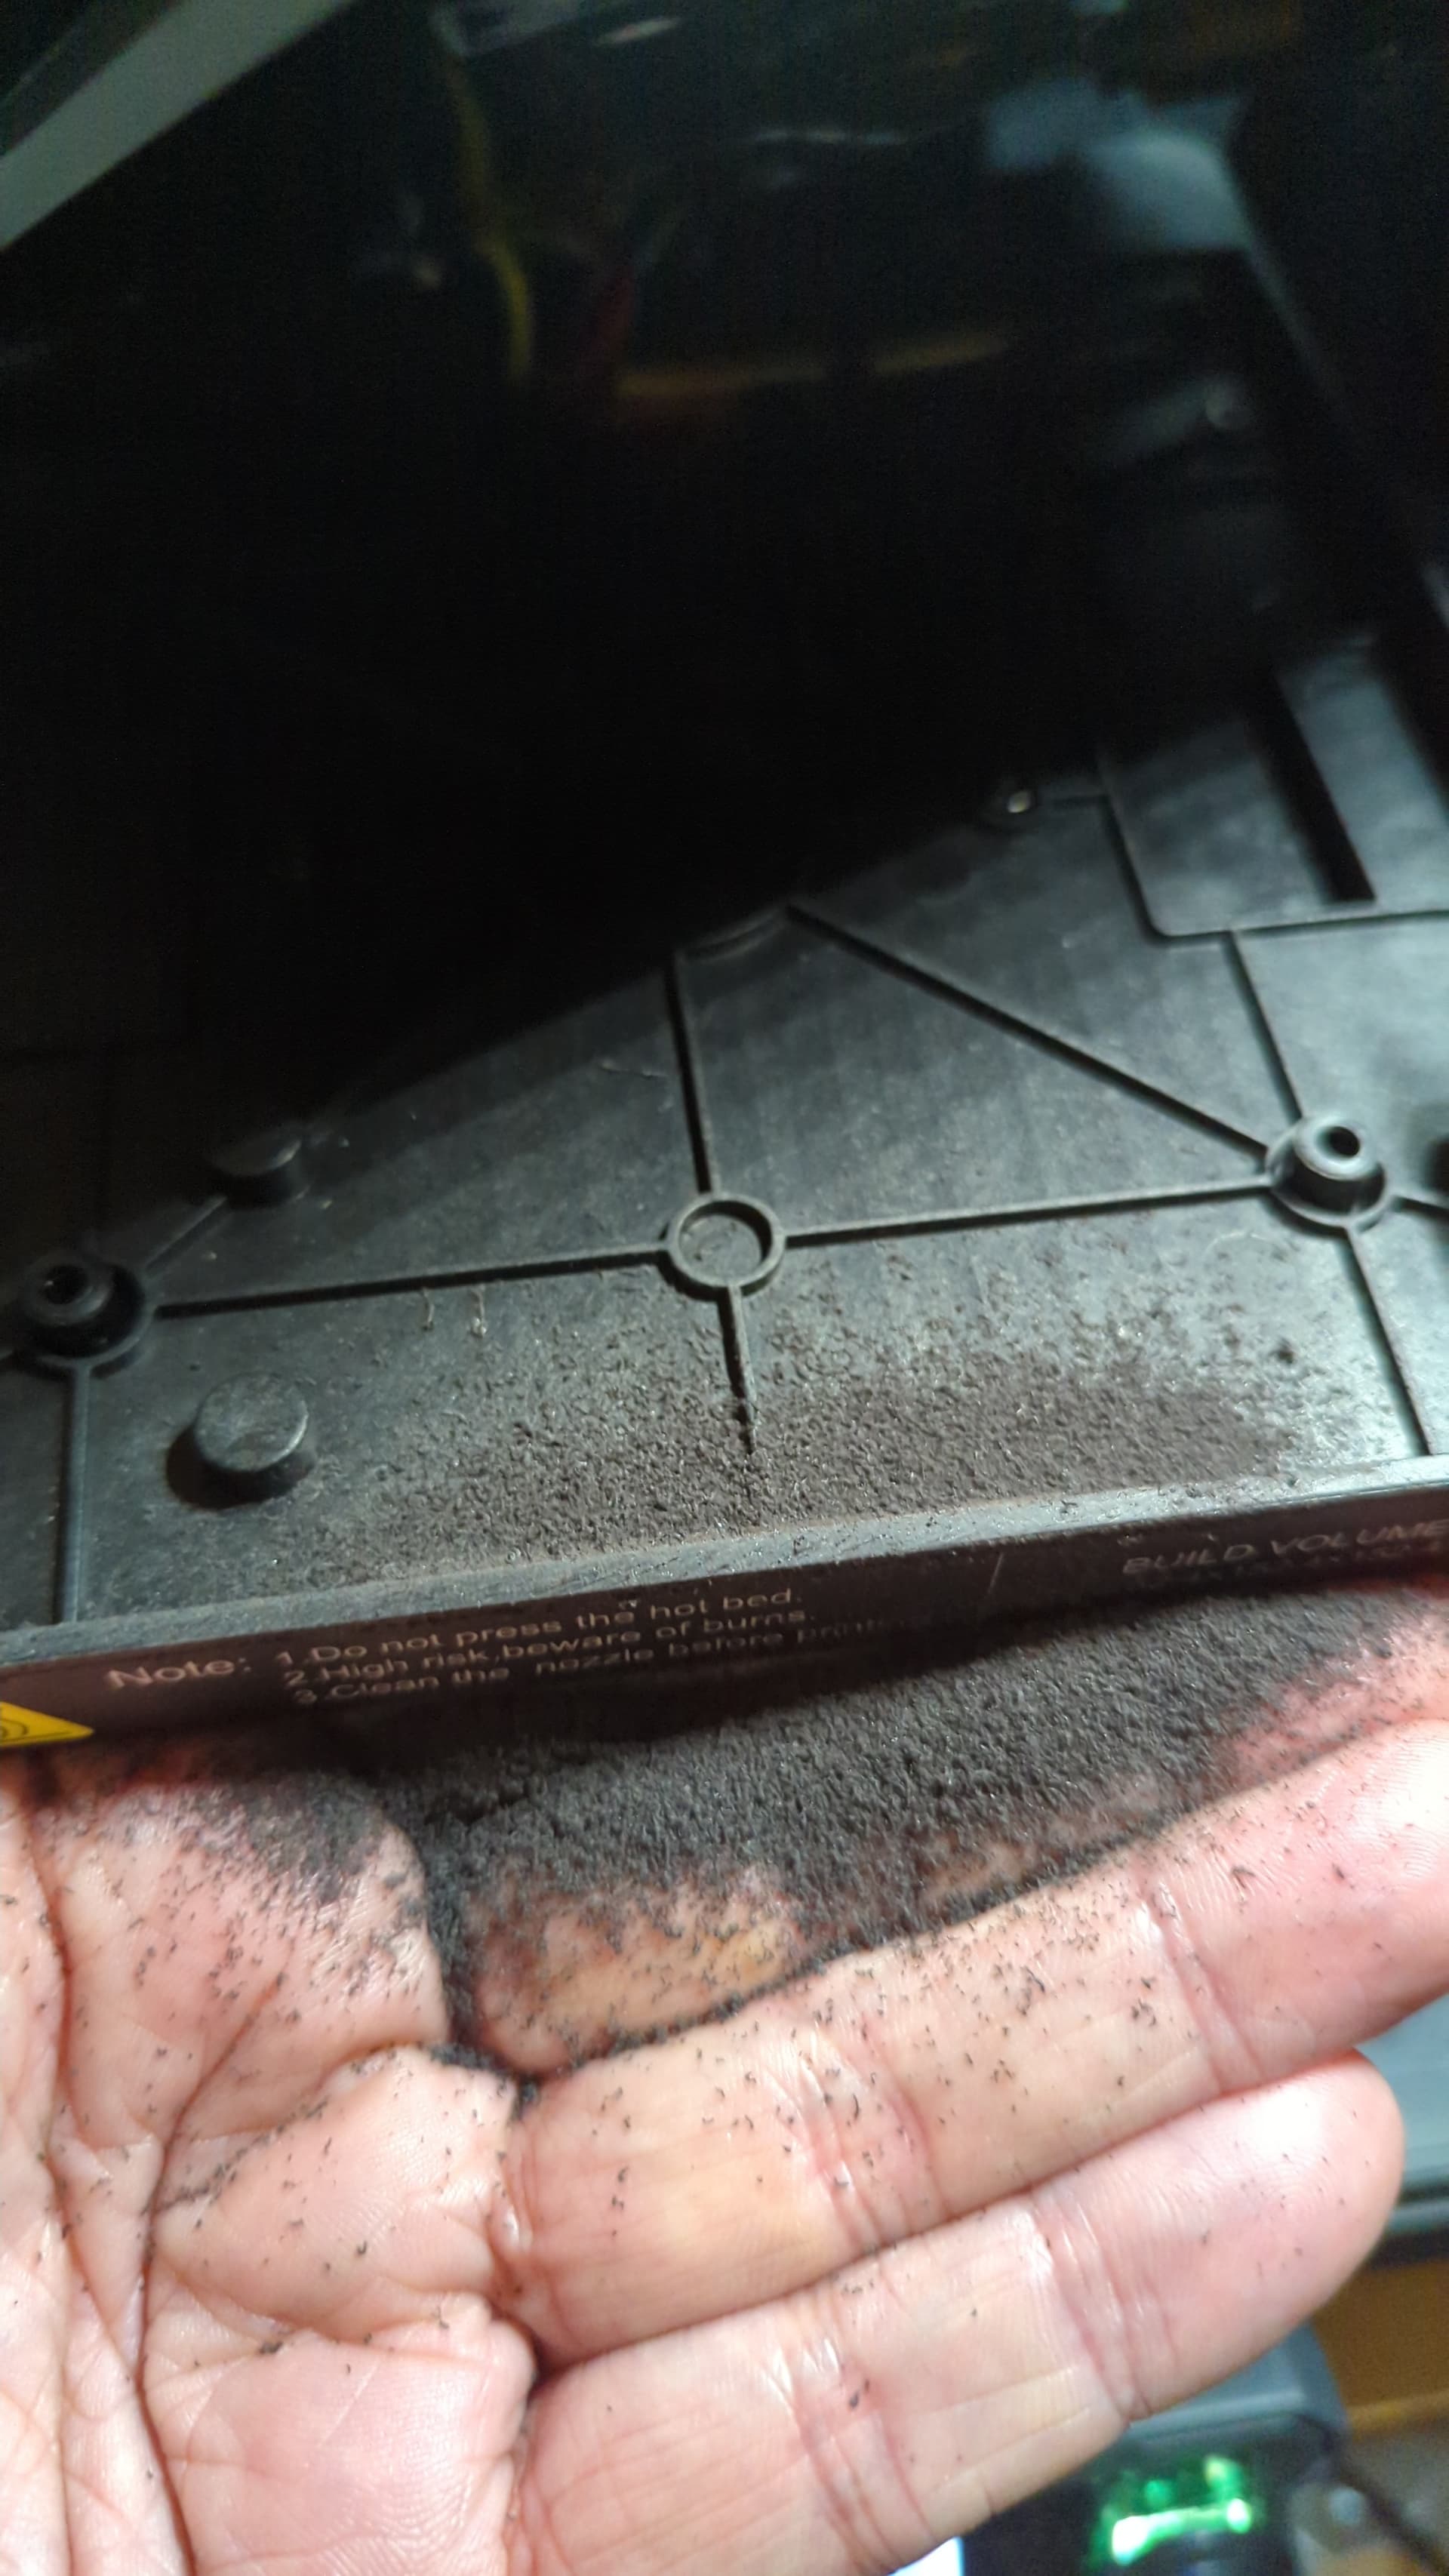
Gergo’s simple method removes the magnetic sheet and heated print bed, which has the added benefit of allowing me access to the injection molded plastic frame so I can more easily file off the tab in the front center that prevents me from using aftermarket build plates for the Ender 2, Adventurer 3 and LulzBot Mini 2.
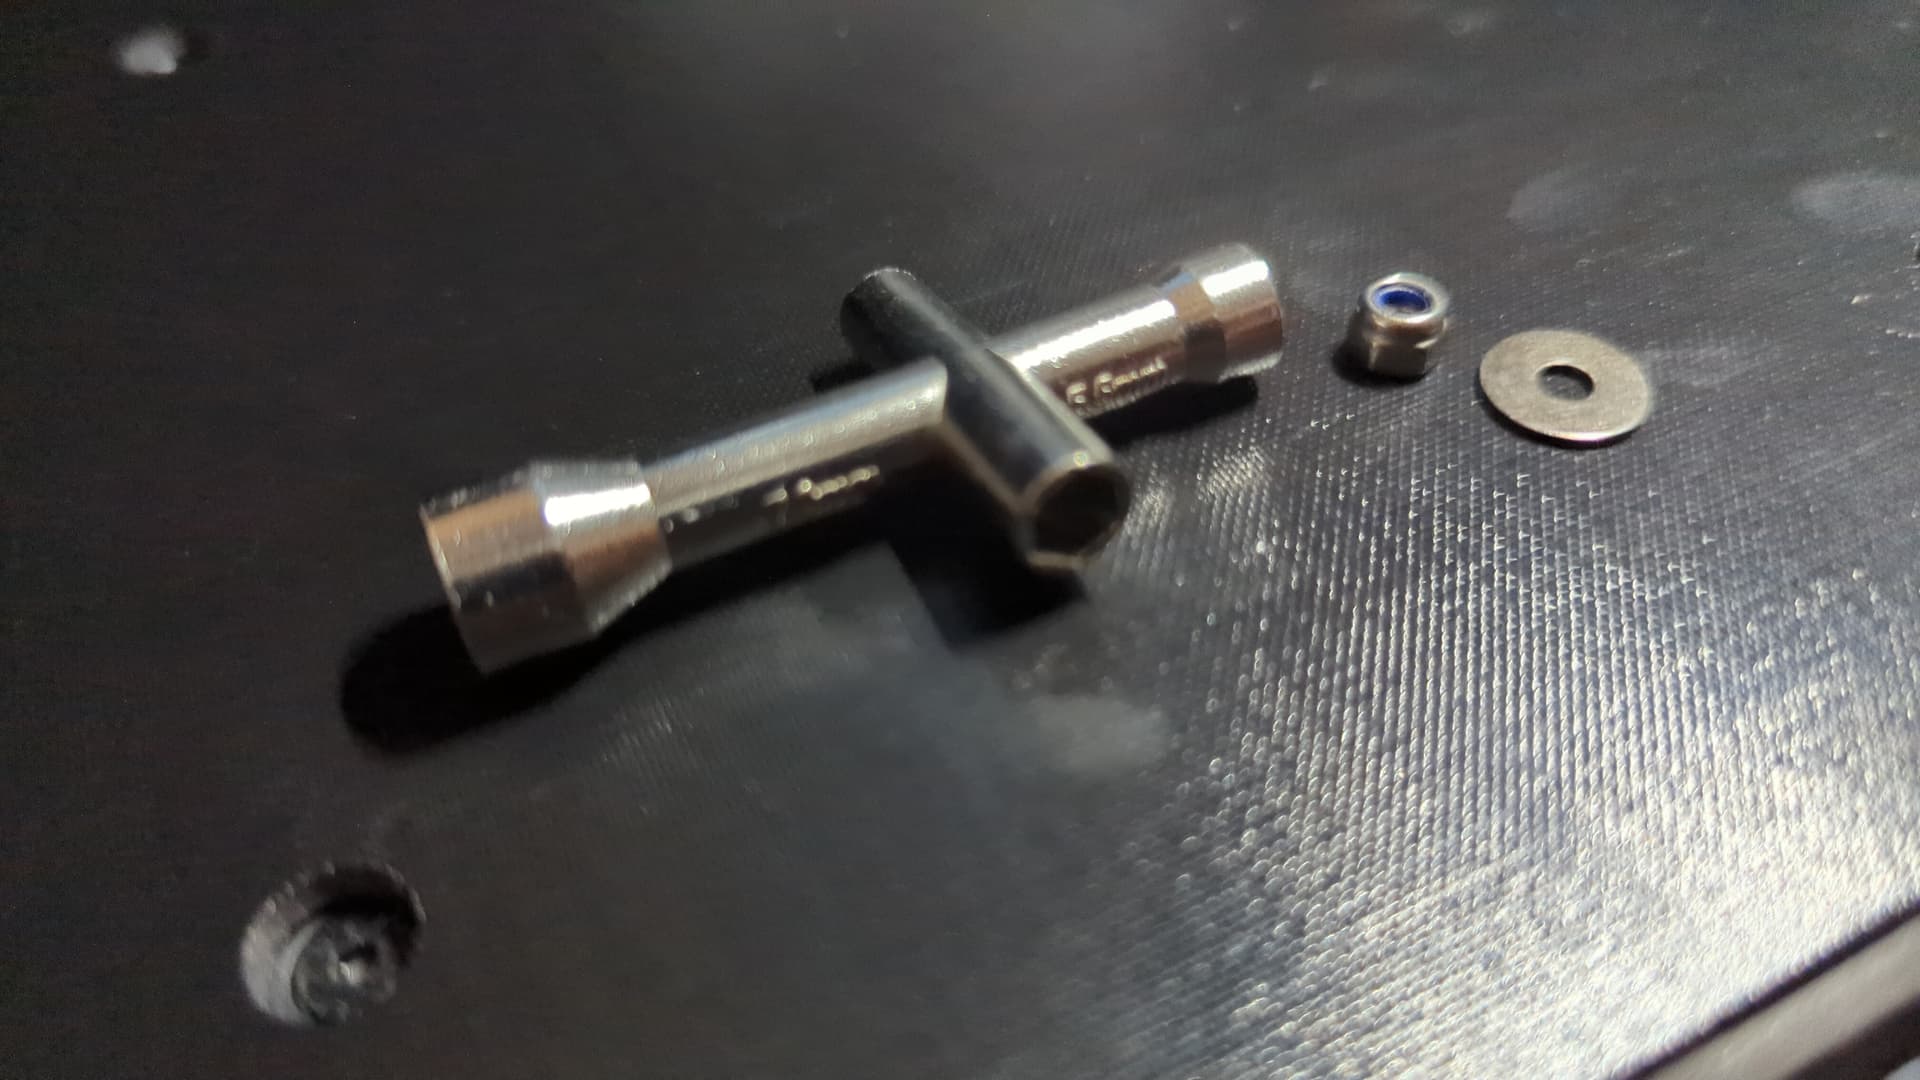
I removed the spring steel build plate and removed the four screws mounting the bed to the frame. The front left screw has a nut on the bottom, below the bed frame. I used a cross wrench sold for 3D printer repair to hold the nut when unscrewing and replacing the front left screw.
With the heated bed removed and slid to the rear, I took 300 quick swipes with a bastard file to remove the annoying plastic tab on the front of the injection molded frame that contains the heated bed. That tab doesn’t help to align anything and only seems to be there to prevent us from using existing 165x165 mm build plates.
It is textured PEI one side and smooth PEI the other, and is 150mm2, which is great if you don’t want to file down retainers but you lose a couple of mm.
The Zero’s build plate is 162x162 mm with X0 Y0 being at the front left corner which is also being used by at least one of the print begin macros to bring the nozzle down to the bed. You’d want to make sure that location at least is within the area of the new plate and with a smaller plate, you probably wouldn’t be able to use the retainers at the back to align the plate.
Not the most I’ve paid for a plate, but probably would be the most per square mm
That said, the high temp capability they claim may be attractive for some filaments.
I’ve got some 165mm plates shipping from Wham Bam, should be here on Monday
No, Tyson’s been around a little while, and I’ve seen them with plates in stock before. But it’s pretty typical of small shops to have a large run made, then sell until they’re nearly out before they have another run done. Darkmoon is similar.
I would not hold my breath on that. Sovol has only ever provided textured plates. In the short term, IMO the best solution is to cut down the front locator tab, and buy Ender 2 165x165 plates. Longer term, hopefully other third-party plate makers will provide Zero plates.
First, I took a pair of flush cutters to the front plate locator tab, then smoothed it a little with a razor knife. I unscrewed the bed from the platform to leave working room.
This is the first print the PETG I’ve been able to run without glue, and it’s stuck on the plate good. Note, this is the PEI plate, not the PEX. Do NOT print PETG on the PEX plate without glue. PETG and PEX will bond pretty much permanently.
I really like Wham Bam’s plates, and they’re very reasonably priced. The downside is that they have a HUGE order processing window before they ship, they specify 5-24 days on their site. Mine took 19 days before it was handed off to UPS.
West3D makes a 165x165 smooth G10 (aka Garolite) surface on a steel plate. I removed the Zero bed’s front plastic tab. The plate fits well.
My goal is to use a single plate for all purposes without special treatment (glues, goops, etc)., using different plates only when I want different textures. So far the G10 is handling PLA, PETG, and a TPU very well.
I’m still testing and tweaking. When it’s settled in I’ll post settings.
CAUTION: The stock Sovol plate is 0.56mm thick. The G10 plate is 1.08mm. Just swapping the plate without adjuistment will result in a dent in the left forward corner. The printer continues to work, but that interference can’t be good. I haven’t been able to fix this, and I’d appreciate help on it.