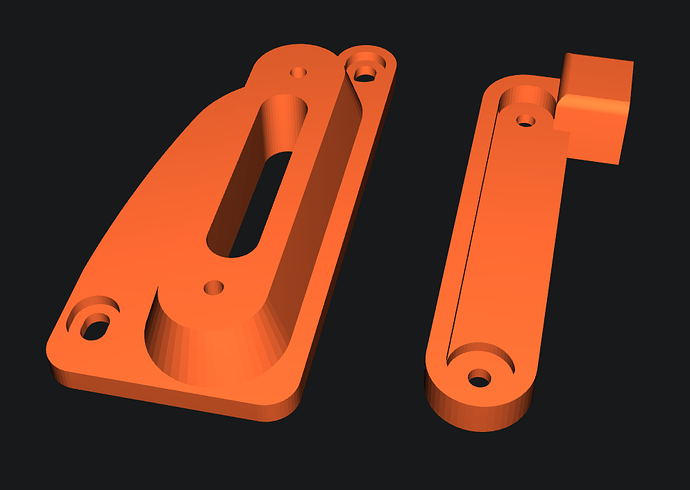
I wasn’t a fan of the rear-mount spool holder, so I designed two small parts that can be printed on the Zero. With just a couple of extra M3 screws and nuts, this relocates the spool to the top-front corner of the right-hand side panel. It reuses most of the existing hardware, requires no additional holes or tapping, works with the original PTFE tube and sensor-wire lengths, and doesn’t interfere with the door or cables.
Thanks, I added it to my collection. I would have liked to have seen inserts instead of nuts, but that’s fine.
Right now, I don’t have the spool holder installed…I’ve been printing straight out of a Sunlu S2.
I don’t have any inserts on hand, I usually just rely on the threads biting into the filament but I wanted to make sure this was strong… And I can lift the printer with the holder lol!
I’ve made a revision and will add a version for threaded inserts, question though, is leaving the M3 nut hex on the bottom reasonable? I don’t have any experience with inserts, would you trust them to hold 1KG on a lever arm?
It would have to rip the insert out to fail…having a nut under the insert might give it the pressure to pull the insert out.
I would just add both models, insert & no insert then let the user choose.
You might want to test it for a few weeks before you upload it.
I will add that for strengths sake, I would add the insert to the bottom side (where the nut is now) this way it wont have any chance to pull out the plastic if it was in the front.
EX. remove nut location & use insert there.
You would just have to explain to users that it bolts from the front into the rear instead of front to front.
This make any sense..??


