I was planning to shim under the front screws that mount the bed to the Z axes to lift the front of my Zero’s print bed, but Gergo just posted a video that shows a more precise method of leveling the Zero bed, that’s not much more difficult. I posted a new thread detailing my Zero bed leveling adventures and misadventures.
Gergo’s simple method removes the magnetic sheet and heated print bed, which has the added benefit of allowing me access to the injection molded plastic frame so I can more easily file off the tab in the front center that prevents me from using aftermarket build plates for the Ender 2, Adventurer 3 and LulzBot Mini 2.
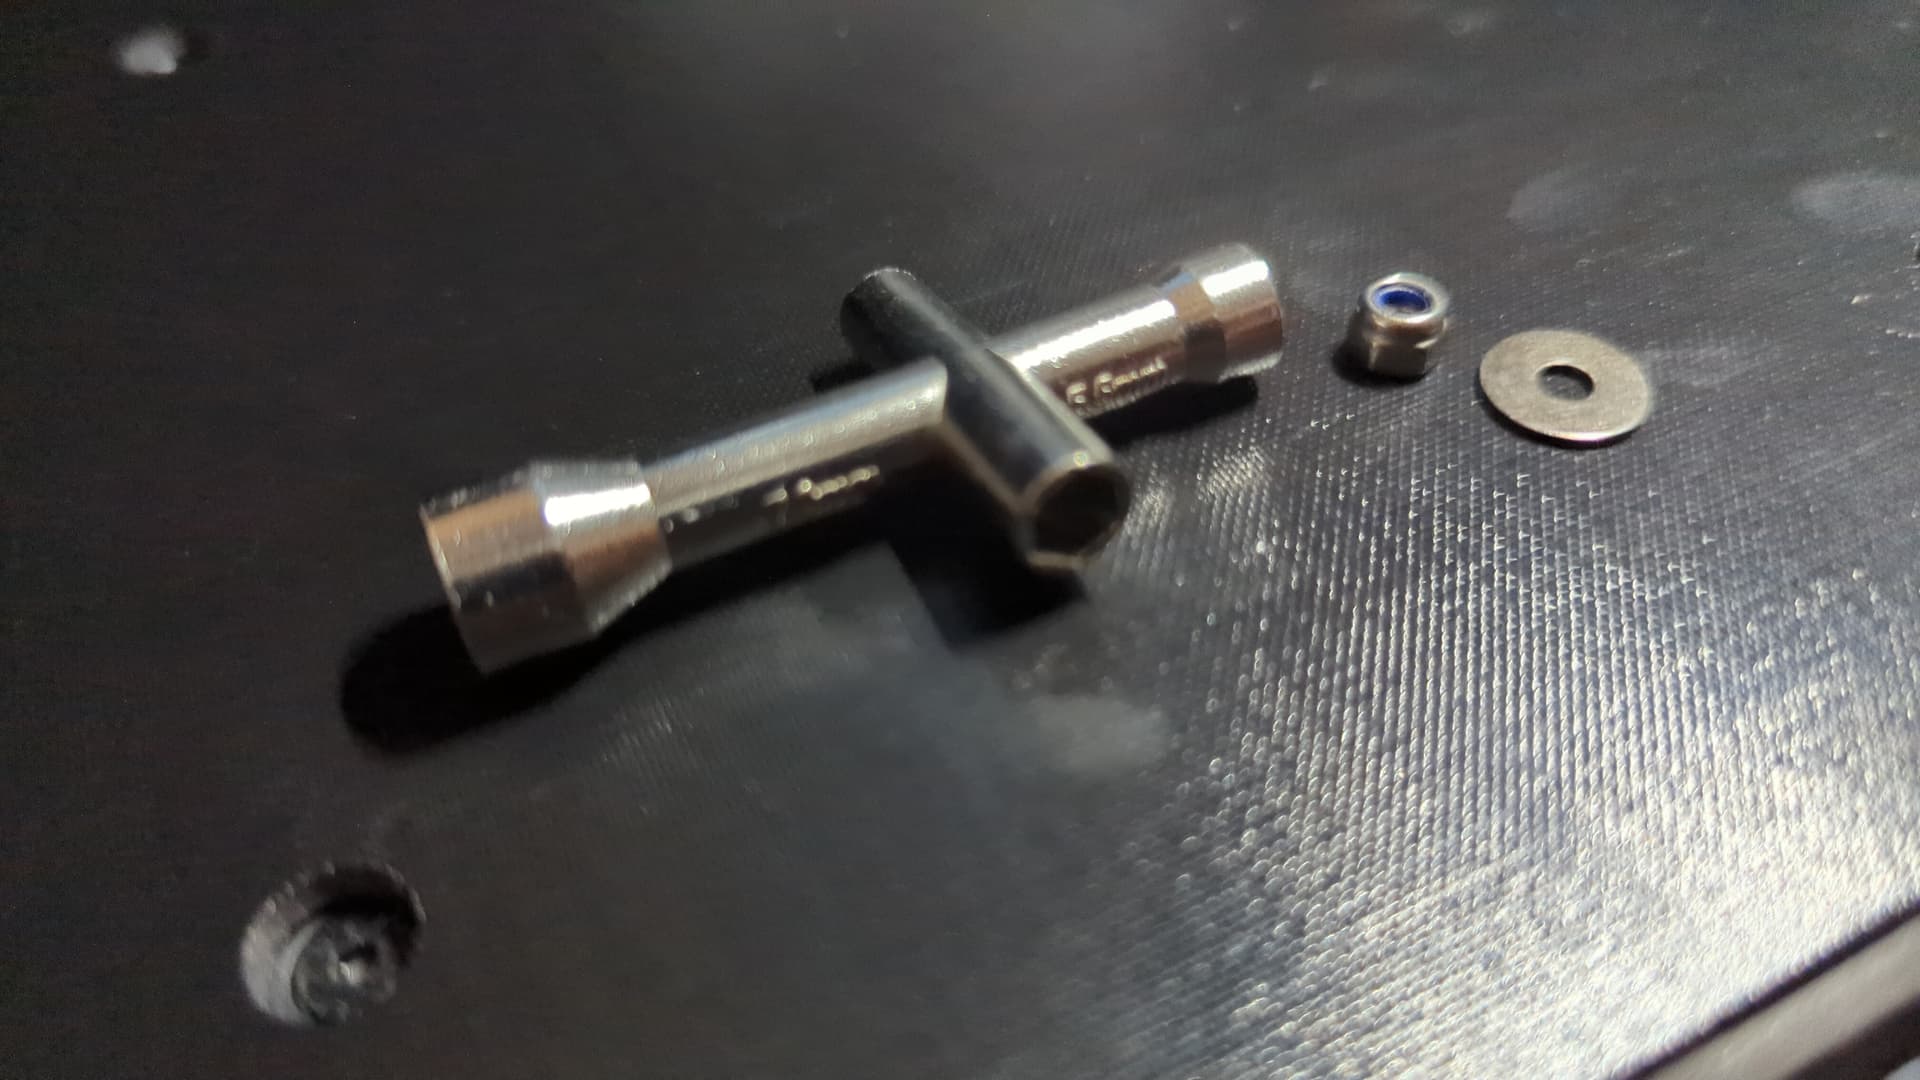
I removed the spring steel build plate and removed the four screws mounting the bed to the frame. The front left screw has a nut on the bottom, below the bed frame. I used a cross wrench sold for 3D printer repair to hold the nut when unscrewing and replacing the front left screw.
With the heated bed removed and slid to the rear, I took 300 quick swipes with a bastard file to remove the annoying plastic tab on the front of the injection molded frame that contains the heated bed. That tab doesn’t help to align anything and only seems to be there to prevent us from using existing 165x165 mm build plates.

Two minutes later, the tab was gone and only the debris remained.
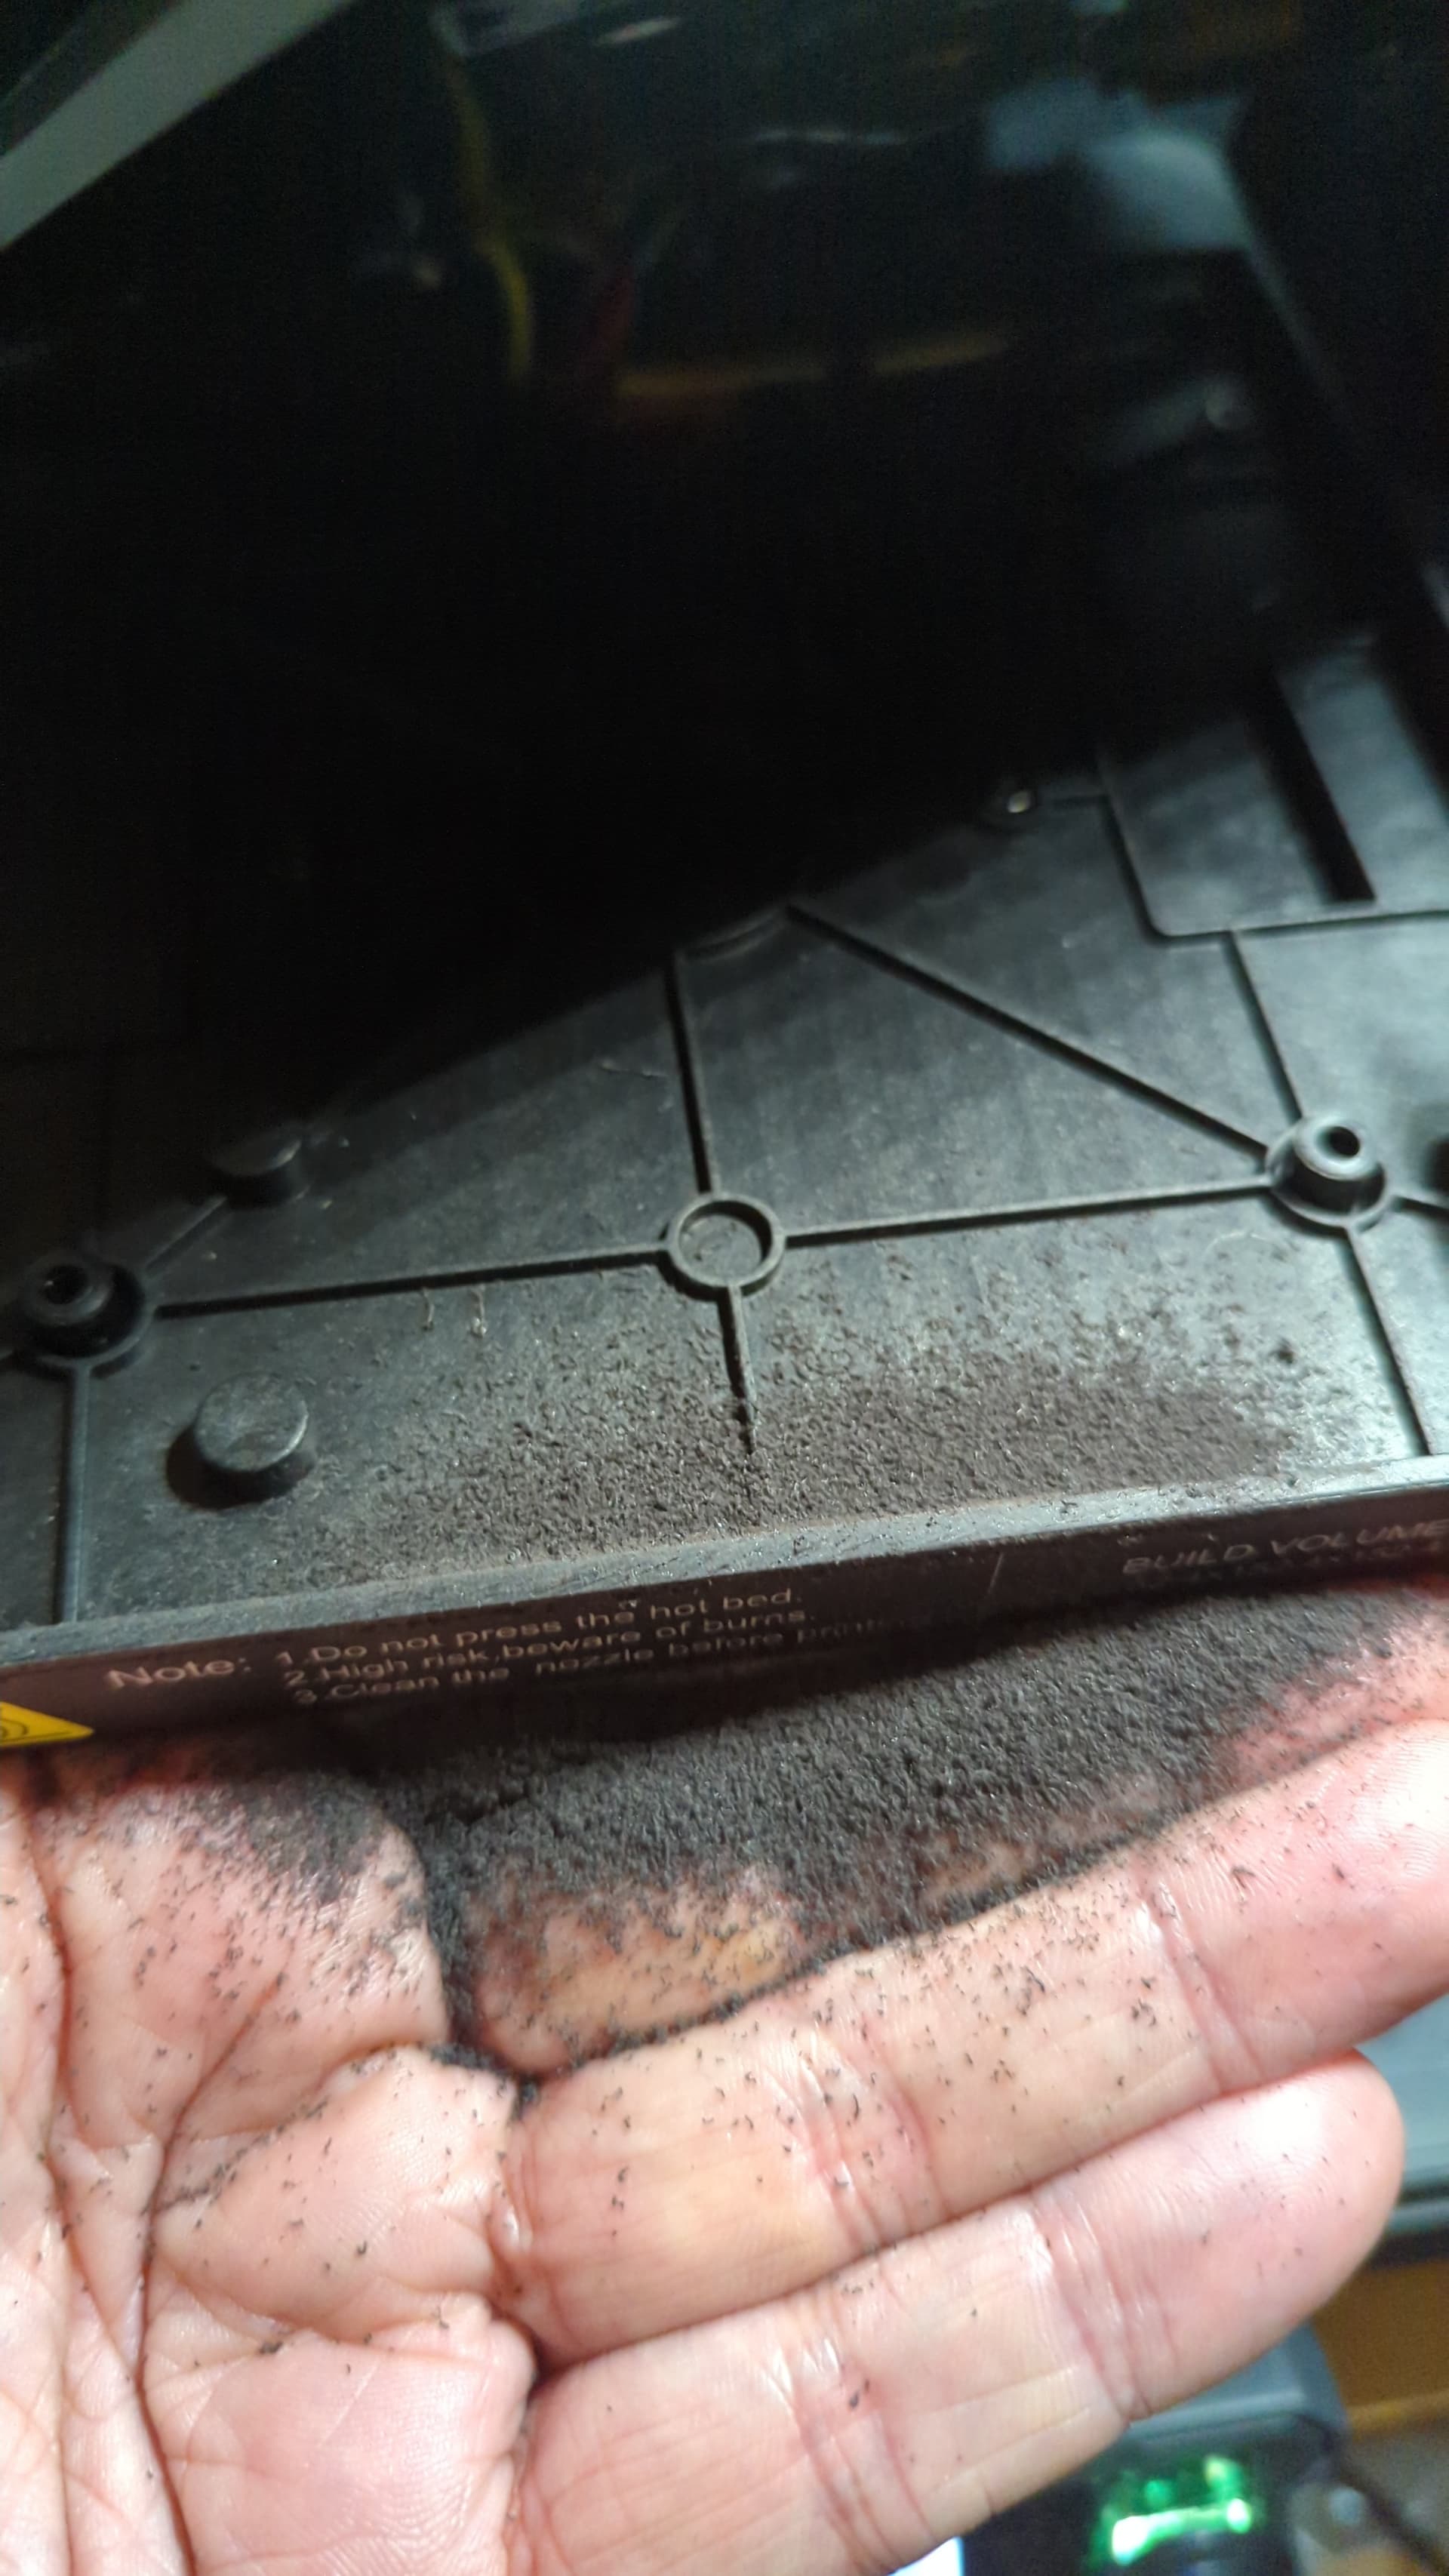
I vacuumed the debris.

I reassembled the bed and installed an inexpensive textured PEI build plate that I bought on Amazon.

I did this tab removal as part of the bed leveling previously mentioned. The gold PEI build plate is flat and level to within 0.075mm.
