So we should talk about the Zero camera…for me, it’s not even as good as the original Pi cam.
I’ve tried playing around with v4l2-ctl parameters but can’t seem to make any difference to the grainy image. Although I did manage to stop the over-exposure which just blew out any white filaments and made them impossible to see any detail on cam.
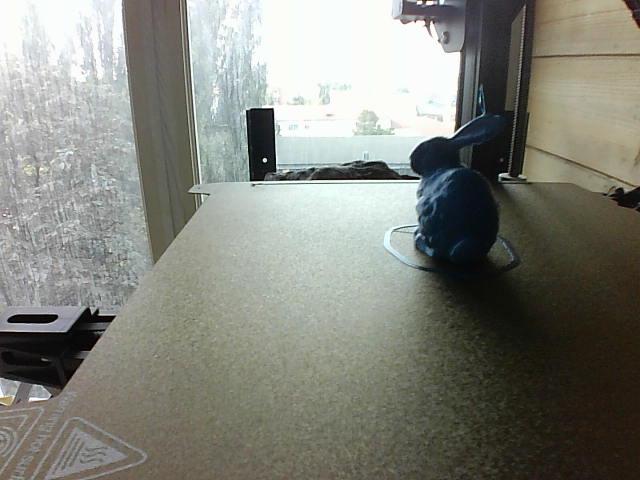
And cheapest usb camera on Ender, even without direct led light, and with overexposure of background. Much less noises, little more focus (possible configurable):
More light is more better but even with good supplemental lighting at the optimal angle, the low cost camera image is grainy and low resolution. It’s generally good enough to detect a failed print although with the stock LED light when printing black filament on a black build plate with black interior enclosure, it’s a bit of a black hole with no light escaping. The stock camera is nothing you’d want to use for a time lapse print video but I don’t do that. In fact, I disabled that feature because taking the image at the end of every layer caused enough delay to cause print artifacts from oozing when printing TPU. I thought about getting a better camera but the Zero struggles to send a few low res images per second when Klipper is busy with trajectory planning when printing complex objects quickly. The video transmission is a low priority job. I’d be very happy to have one much better image every few seconds if anyone manages to do that with a better camera.
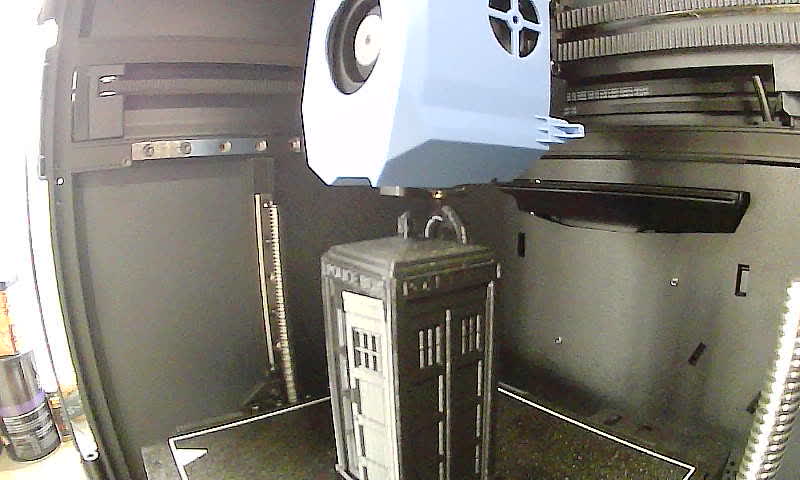
I setup two cameras, I’m new to the 3D printer world, and wanted better print monitoring without a ton of expense. For my needs the Sovol Zero camera is the little camera that could and just needs some help with tuning. The second camera came into thought when I realized I wanted better coverage on the left side of the printer. I realized I could download flip and print the little camera housing from the Sovol3D GitHub Page and get another camera from Sovol, unfortunately it is never in stock for my area So I had resort to a similar USB camera that I found on Amazon for ~12.99 USD.
Through out that journey I found these settings helped the tone down the Sovol camera, I like bright and a bluish white tints so it may be bright for some.
Cheers,
-Mike
Maybe these settings could help
NOTE: I use symlinks so “/dev/cam_sovol” will be different on your system, just update with your cameras link. Also white_balance_automatic=0 when set to 1 (on), locks out quite a few of the options.
Thanks Mike. In my case, the camera appears as /dev/video0, so it defaults to it, or it can be called with the -d 0 shorthand. I’ve put together a table of parameters and ranges. I think each camera needs to be tweaked individually, as using your values does not result in a similar screenshot on my printer!
Wow, thanks @rpcyan I had no idea the cameras could have that much variance! Thanks for the side by side table, looking forward to seeing the end results.
ohh and yeah 1am did not work well LOL missed the 1200 how?, I just looked, it used the minimum value of 2800 since I was out of range with 1200.
this is what I’ve settled in on with the values above. Unique to one’s particular camera, screen, and eyeballs so its of course subjective. While the dental floss is mostly blown out, you can still see the edge of the label, and the hook for the floss itself on the left edge. I couldn’t get any more detail out of the shadows, nor could I avoid that hint of lens flare
Disable backlight compensation if using auto exposure - It just blows out anything remotely bright! (doesn’t do anything w/ manual exposure)
Manual exposure time helps dial the quality given the above trade-offs.
Perhaps what’s more helpful is this little bash script to walk through the various values. Uncomment the particular “for i” range for the given parameter, and move the $i around.
#!/bin/bash

for i in -64 -56 -48 -40 -32 -24 -16 -8 0 8 16 24 32 40 48 56 64       #brightness
#for i in 0 8 16 24 32 40 48 56 64                                      #contrast
#for i in 0 8 16 24 32 40 48 56 64 72 80 88 96 104 112 120 128          #saturation
#for i in -40 -32 -24 -16 -8 0 8 16 24 32 40                            #hue
#for i in 2800 3170 3540 3910 4280 4650 5020 5390 5760 6130 6500        #white
#for i in 72 99 126 152 179 206 233 259 286 313 340 393 447 500         #gamma
#for i in 0 2 4 6 8 10 20 30 40 50 60 70 80 90 100                      #gain
#for i in 0 1 2 3 4 5 6                                                 #sharpness
#for i in 0 1                                                            #backlight
#for i in 1 20 40 60 80 100 120 140 160 180 200 220 240 260 280 300 320 #exposure
do
echo $i
v4l2-ctl -d 0 -c \
 brightness=$i\
,contrast=16\
,saturation=56\
,hue=0\
,white_balance_automatic=1\
,gamma=152\
,gain=0\
,power_line_frequency=2\
,sharpness=2\
,backlight_compensation=1\
,auto_exposure=1\
,exposure_time_absolute=260\
,exposure_dynamic_framerate=$i
#,white_balance_temperature=4600

sleep 2
done
The settings can be made persistent by entering Mainsail’s Interface settings,webcam, and edit crowsnest.conf. The last line:
v4l2ctl: brightness=-16,contrast=16,saturation=56,hue=0,white_balance_automatic=1,gamma=152,gain=0,power_line_frequency=2,sharpness=2,backlight_compensation=1,auto_exposure=1,exposure_time_absolute=260,exposure_dynamic_framerate=0 # Add v4l2-ctl parameters to setup your camera, see Log what your cam is capable of.
Thank you for sharing such a simple fix for boot time rpcyan! Obviously I took the hard rode building a custom init.sh script to log and set my cam settings at boot! … If any OS updates come I’ll most likely need to spend time putting all of my configs back together your suggestion is so much better!
Your camera looks completely different and great, I need to clearly wrench on my cameras settings some more!
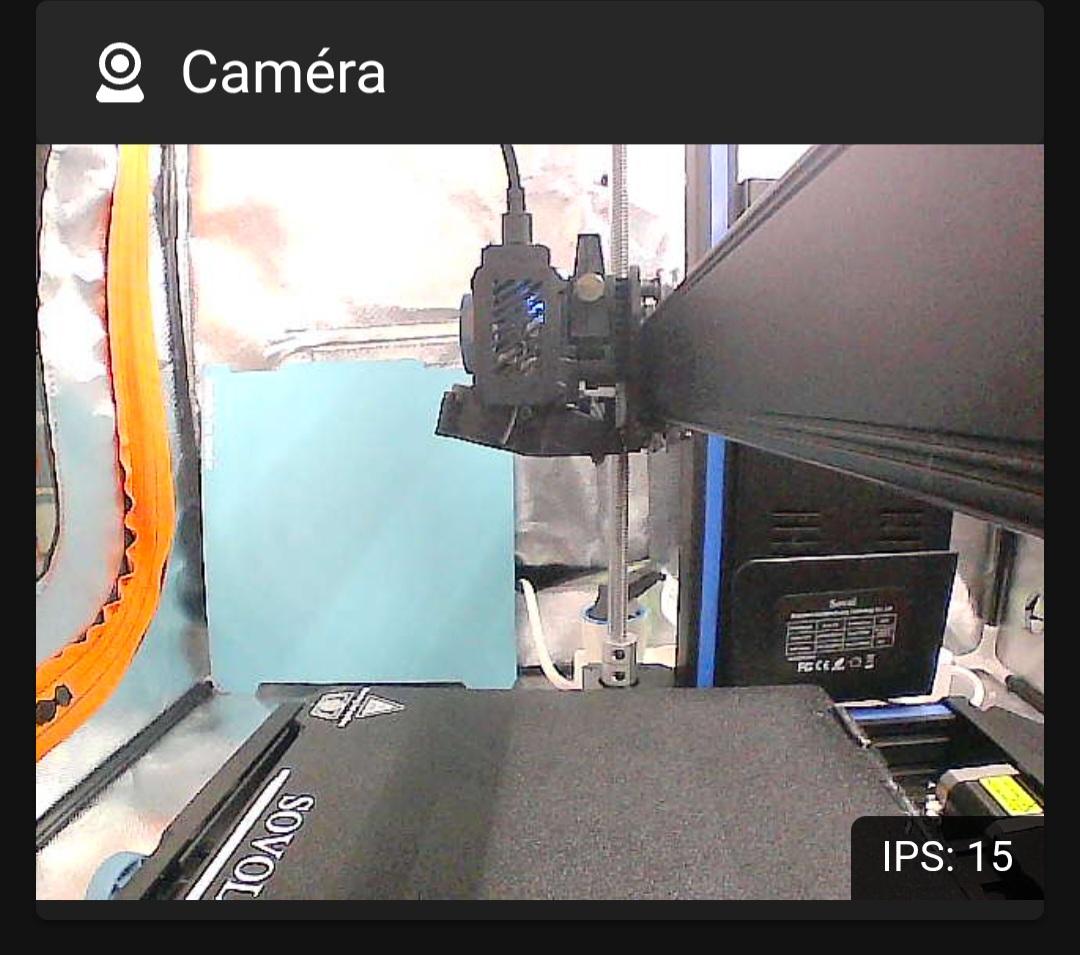
The camera is struggling because there is so little light in the microscopic black hole of the Zero. That results in a noisy grainy dark image. I added some auxiliary LED lighting yesterday (I’ll create a separate thread to describe the upgrade) and once I had more light inside the Zero, the remote monitoring images via Crowsnest look much better, with no adjustments to the stock camera settings.
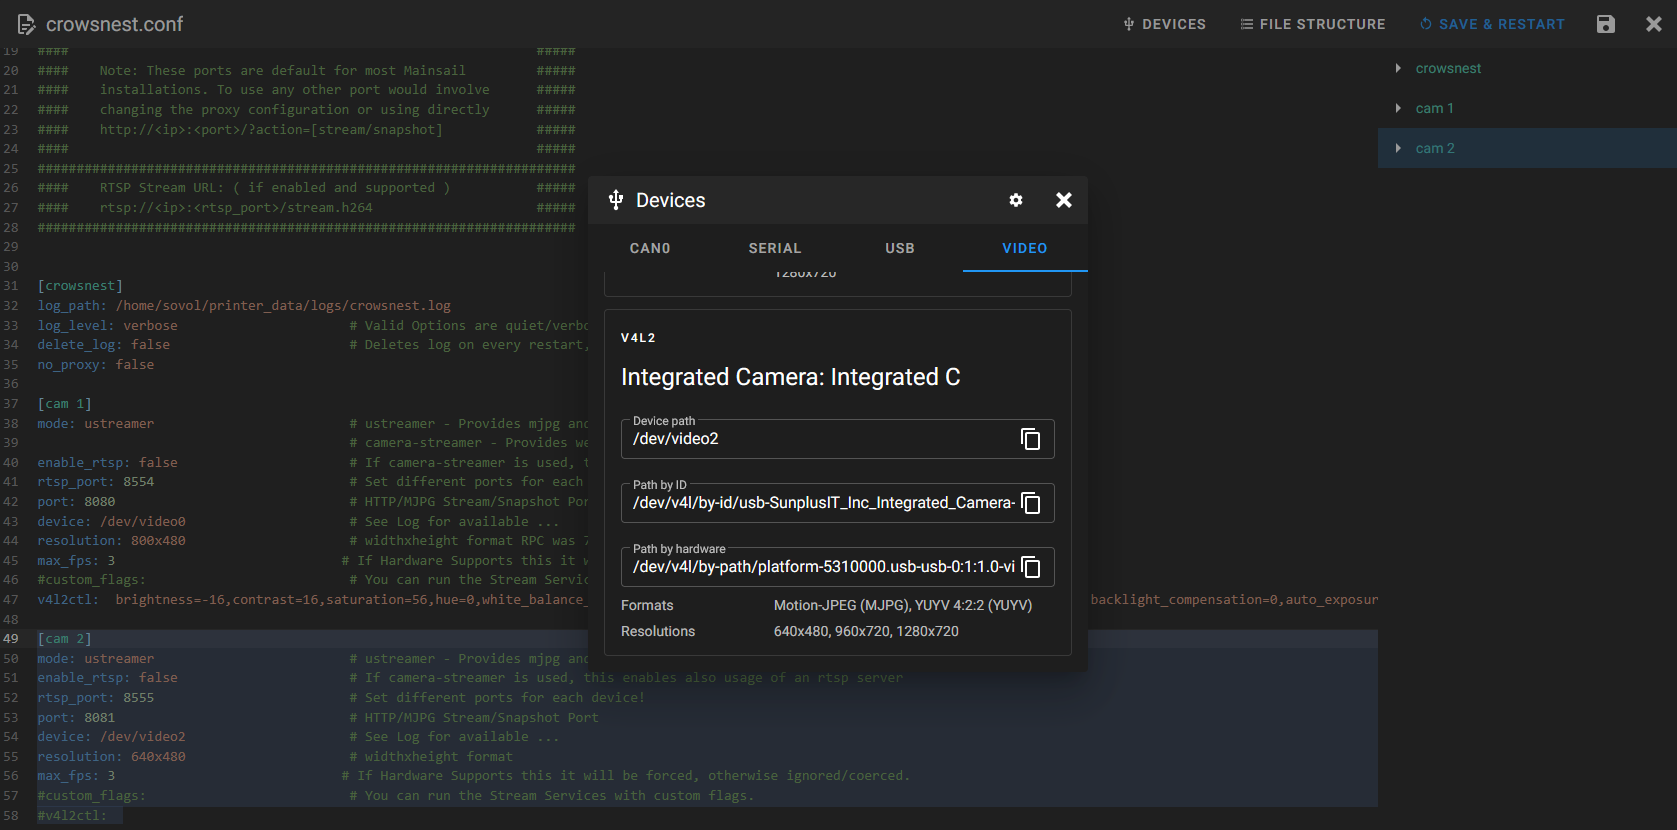
I just received one and just have it hanging inside the top lid. It appears as /dev/video2 (video1 is also used by the built in camera, but doesn’t appear functional). This can be found while editing crowsnest.conf and clicking on the Devices tab near the top right.
This is what I added - haven’t tweaked any image settings yet since 1) its not in the right place yet 2) it already looks so much better and 3) will have to do it all over again when I add more lighting.
Once this is added its a simple matter to add a new webcam, the header in crowsnest says it’ll just show up as /webcam2/ despite the different internal port assignments:
@rpcyan Yes, that’s the one. I also saw that video1, I’ve not taken my Zero apart yet, I’m wondering if the port is open and usable, have not taken the time to dig into that yet. The USB input is the same route I went, except I did the symlink thing for my camera which you shared such a better simple alternate for above.
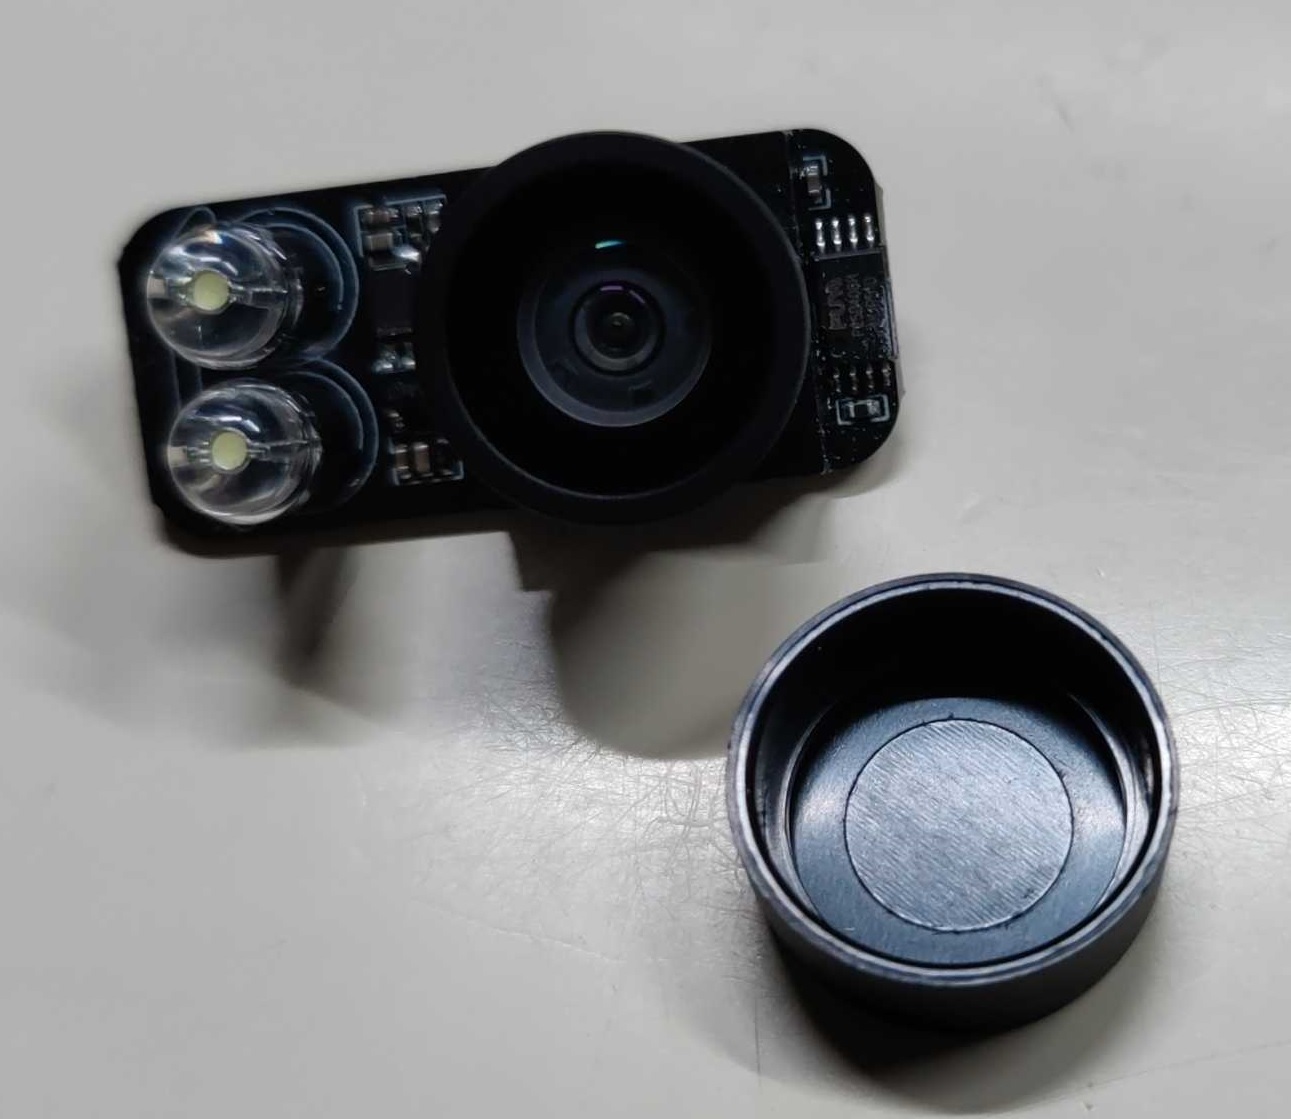
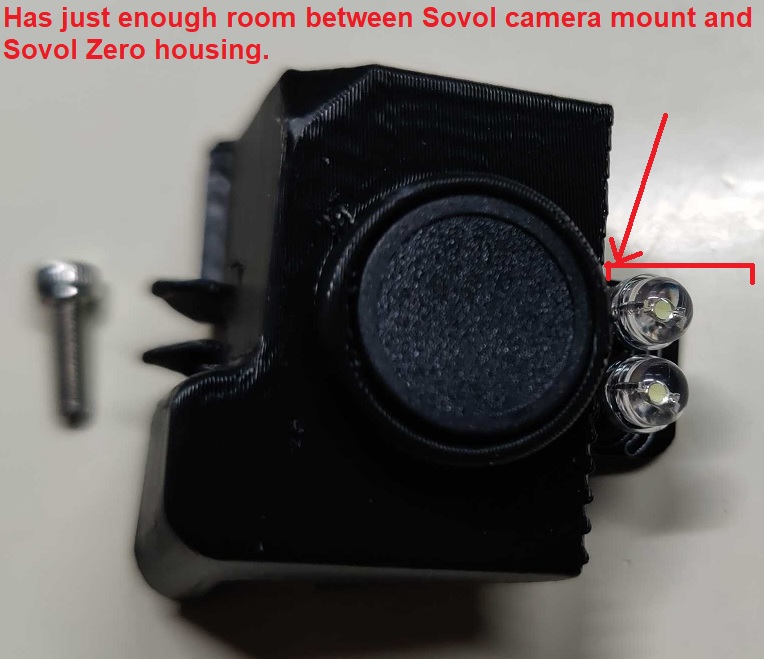
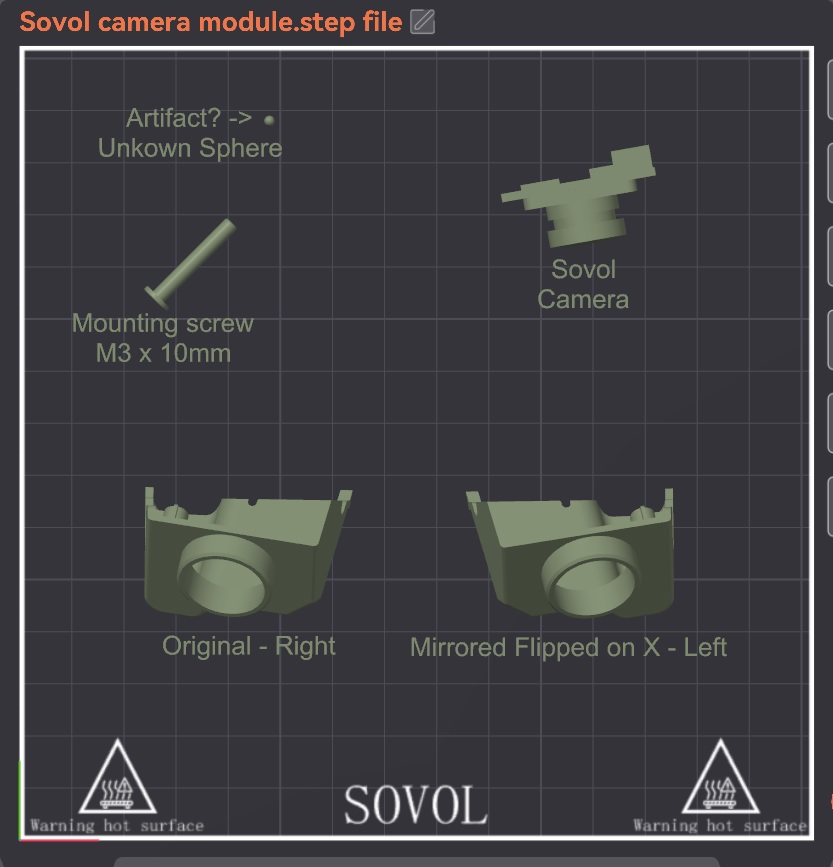
If you are interested, for me with that camera I ended up downloading the Sovol github “camera module.step” file and mirroring on the x axis so I can mount it to the left side opposite of the original camera. If you go this path, save the lens cap from the new camera as it happens to make a nice snug fit into the Sovol Camera mount, cut the lens cap face off, or with cad decrease the diameter of the the inner lens opening on the camera mount. Next find a M3x10mm screw that will fit in the pre-drilled hole of the zero’s frame. Then design a small band to cross over the back of the new camera screwing the band into the two holes in the Sovol Camera mount using the screw that came with the new camera. I was lucky and had a extra screw that will fit for the second hole. Just make sure the band screw holes are thick enough to keep the screws from poking through the front of the Sovol Camera mount. I’m still working on the band to hold the camera in, I’m new to cad so it’s slow going