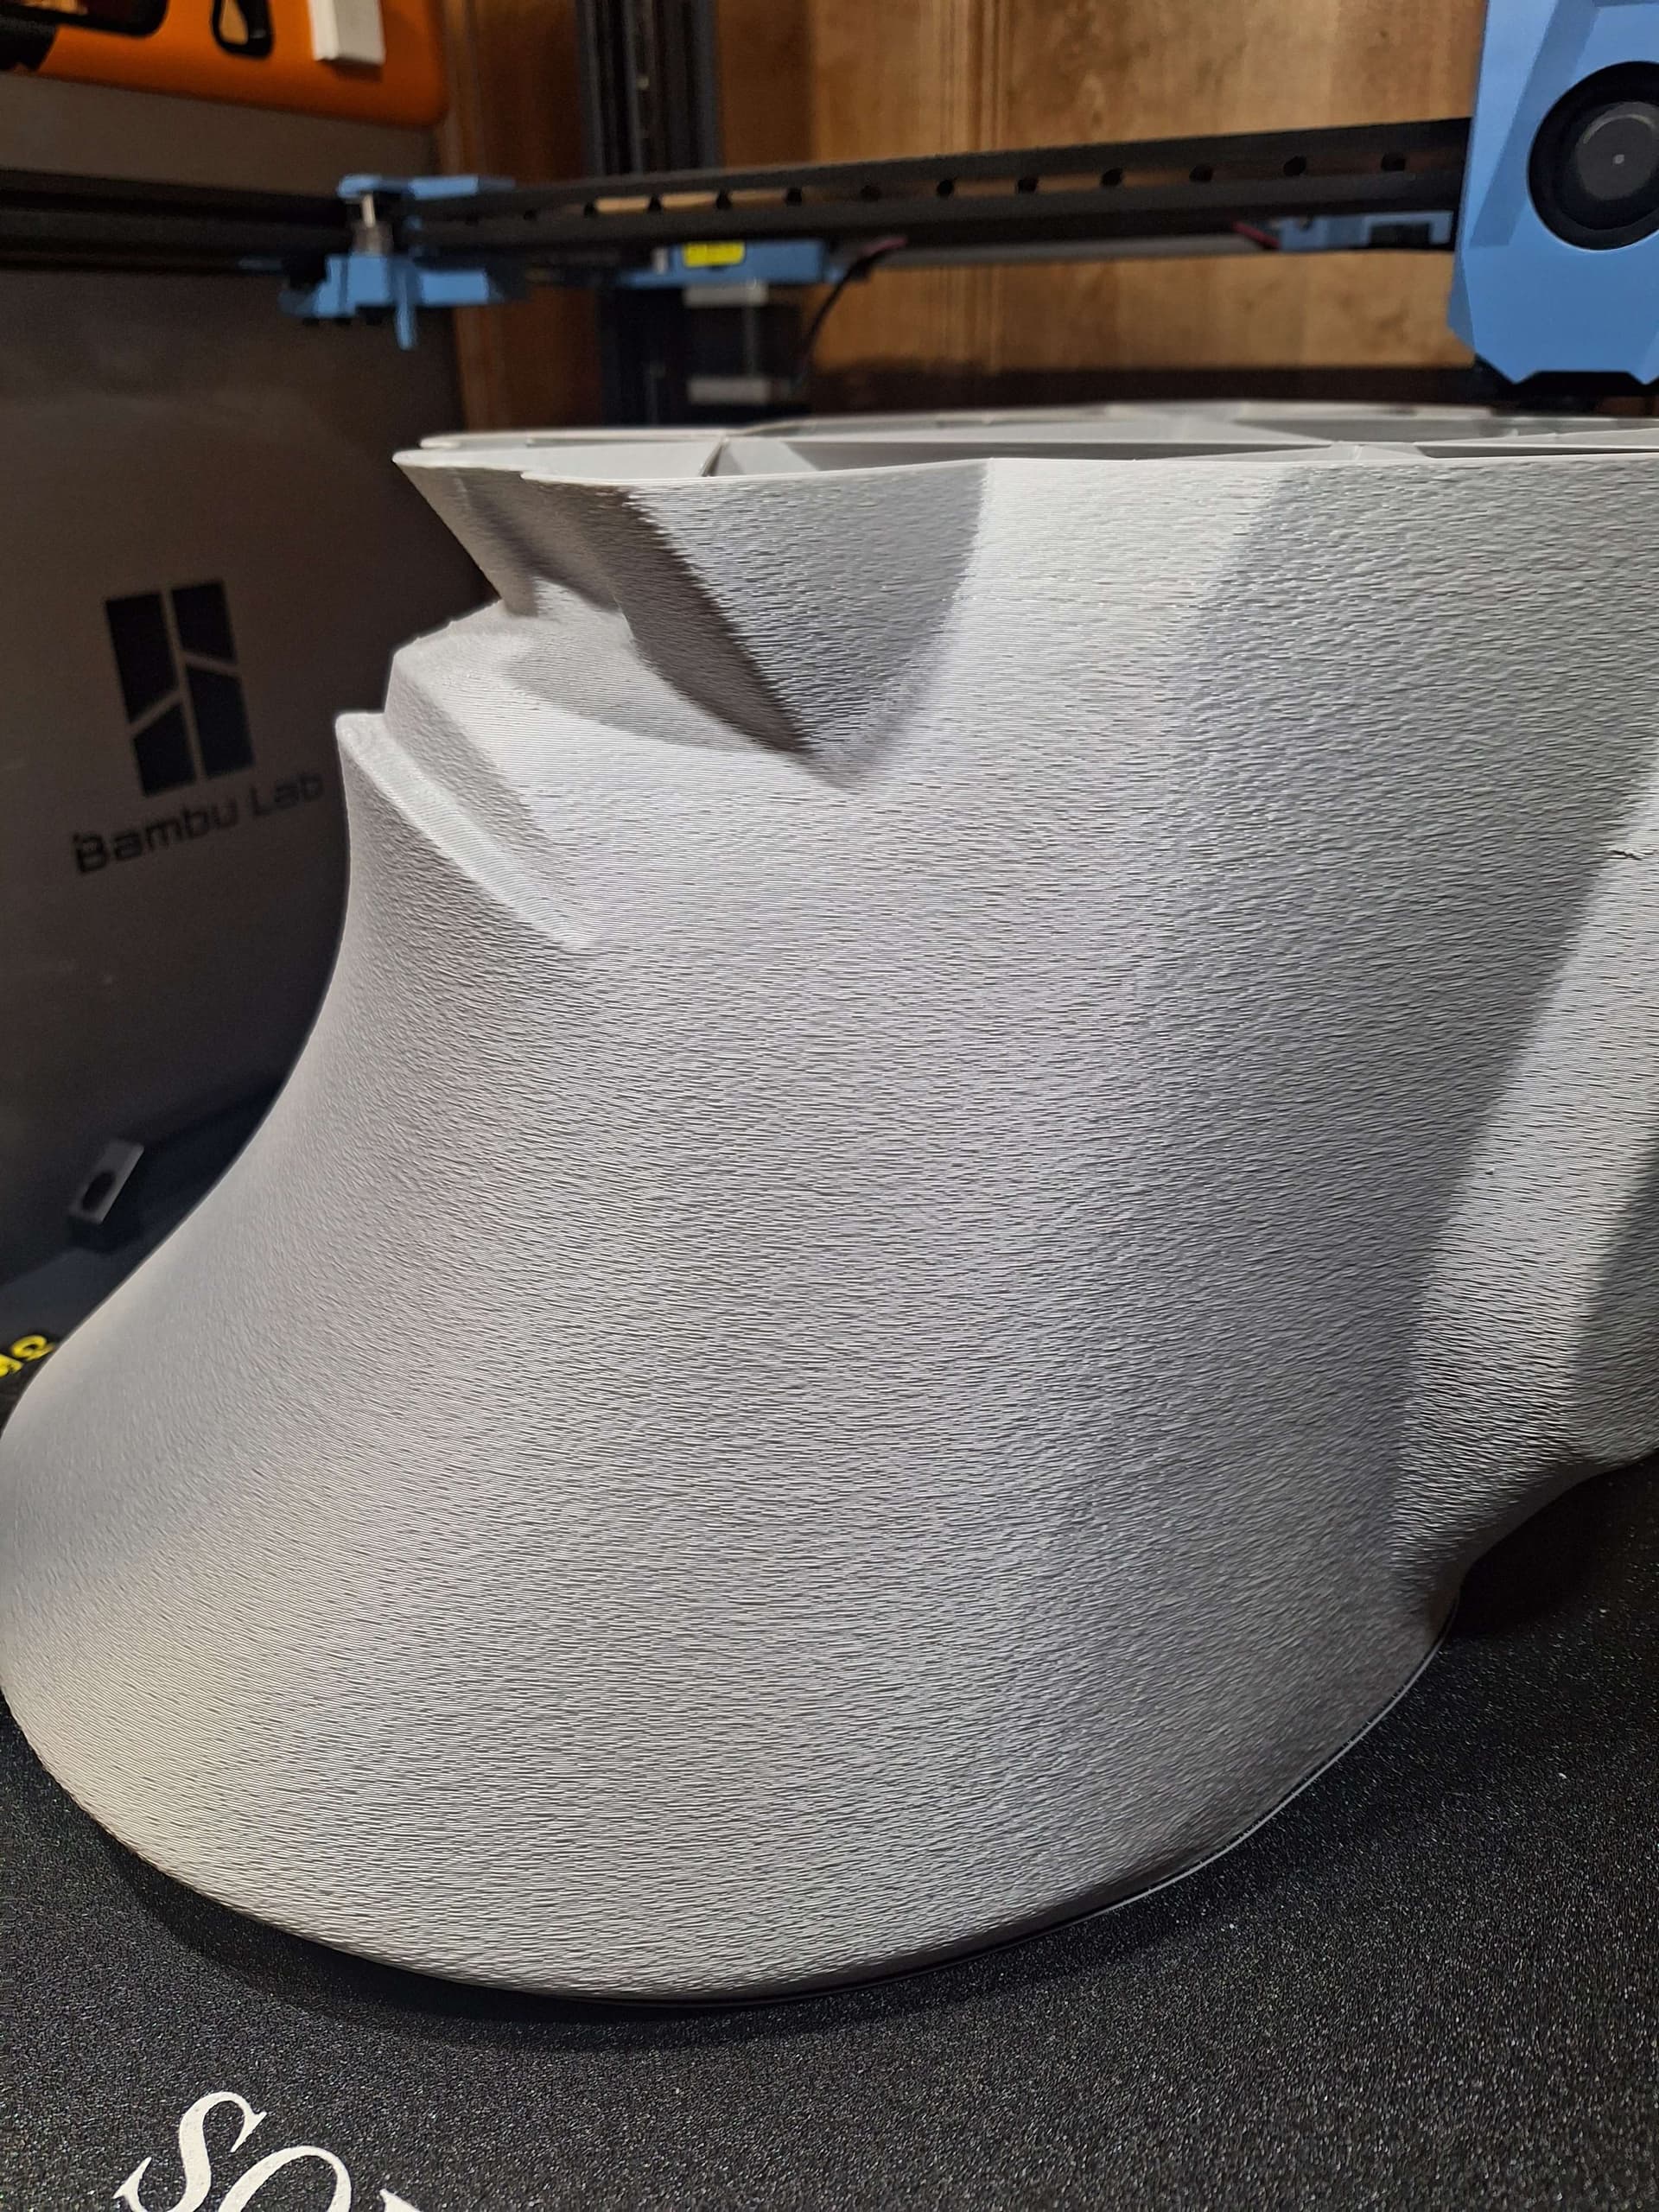
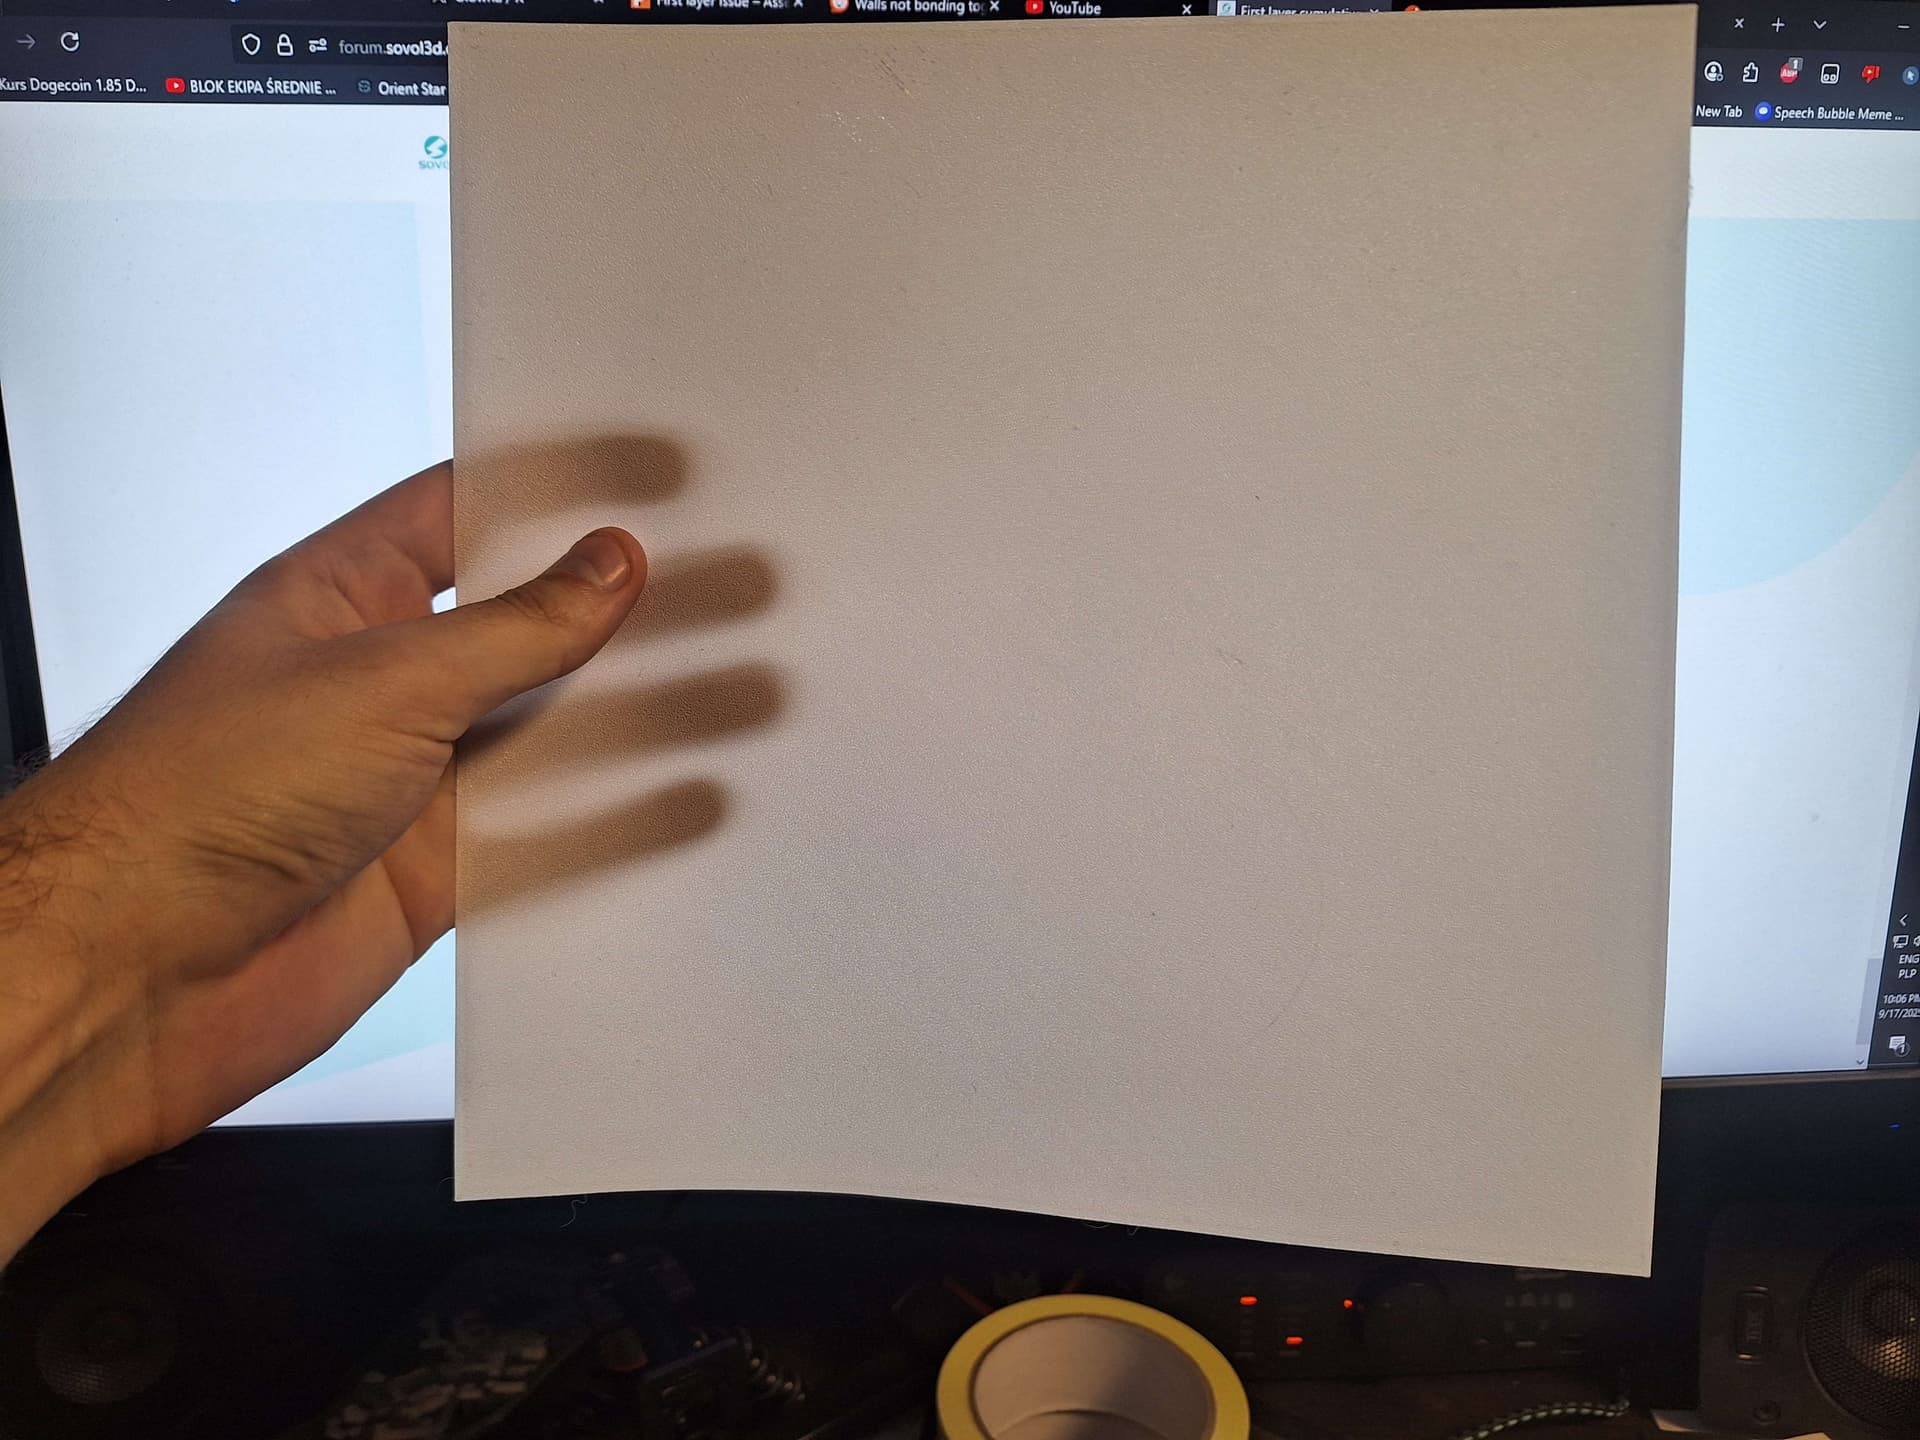
After first time setup and initial calibration, this first layer print has cumulative precision error further it goes in printing. I saw this error before but I forgot what cause it. Could anyone help?
Hello @sovol3d
Could you help him?
I’m not sure what you mean. To me the X and Y precision shown in the photo seem fine.
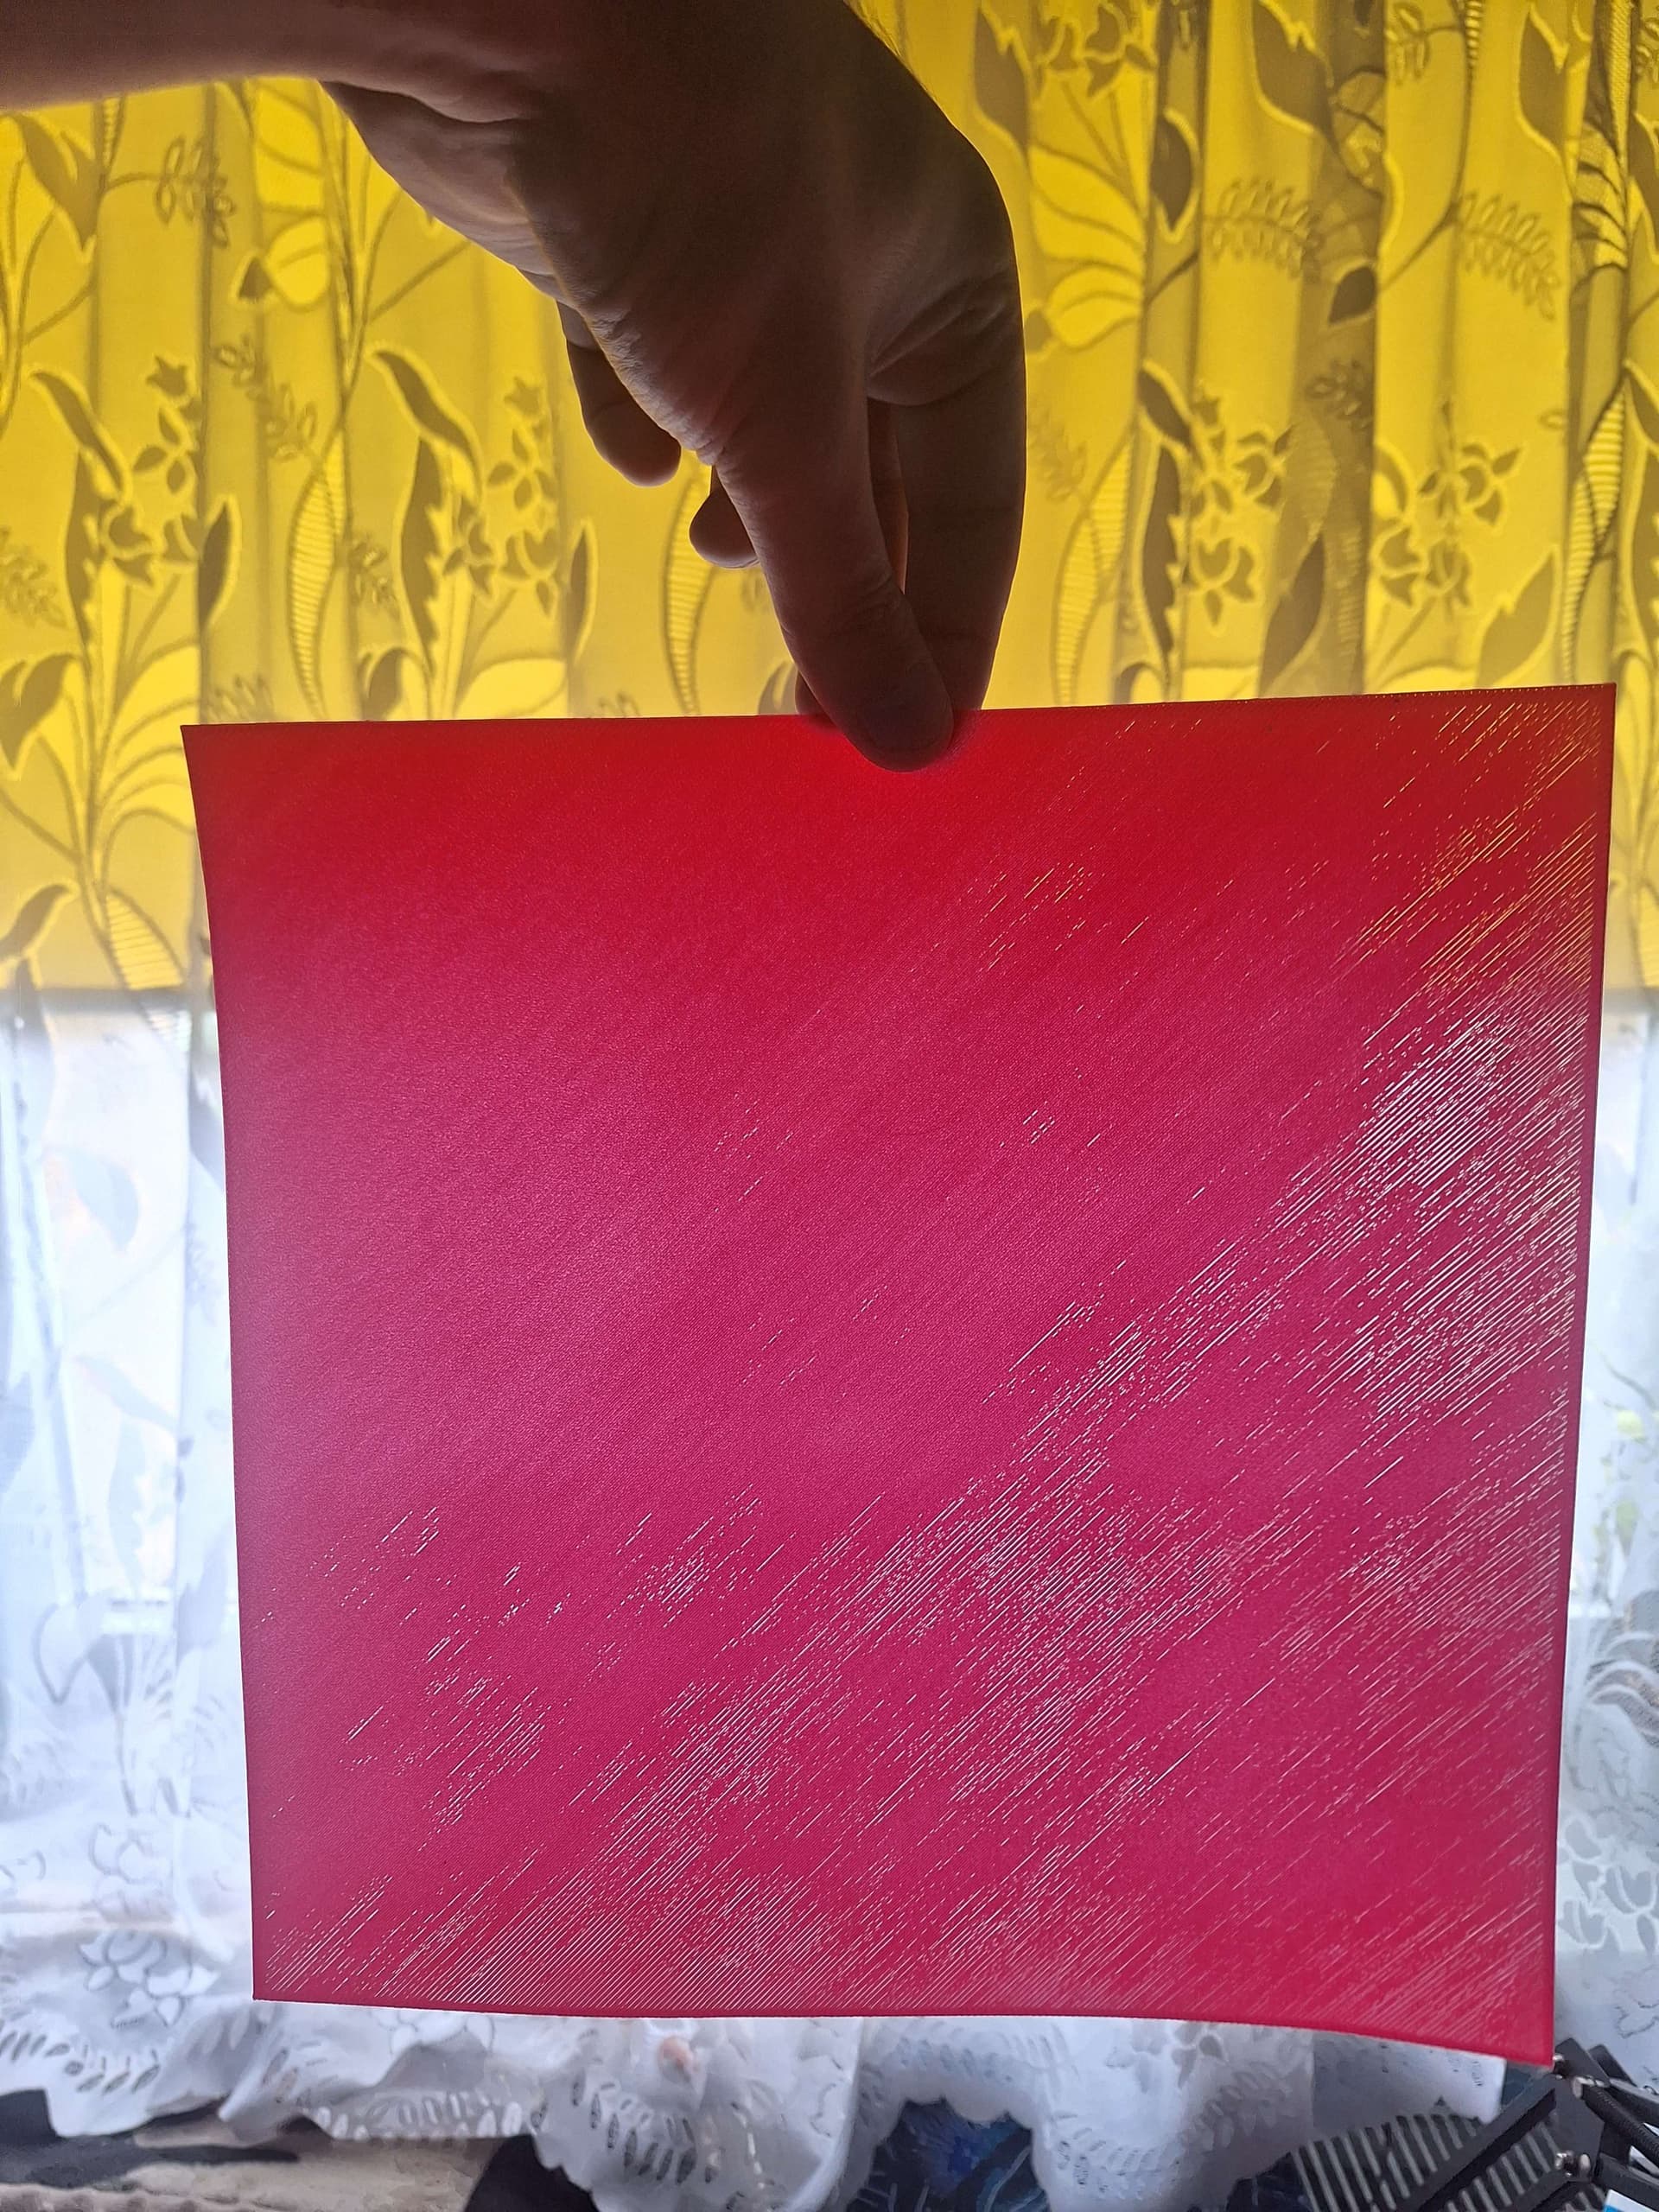
The entire thing seems under extruded, minor for the top left, some worse bottom right.
What filament are you using. Even a tiny variation in filament diameter could cause a print like that.
Have you done a “flow rate calibration” for this roll of filament?
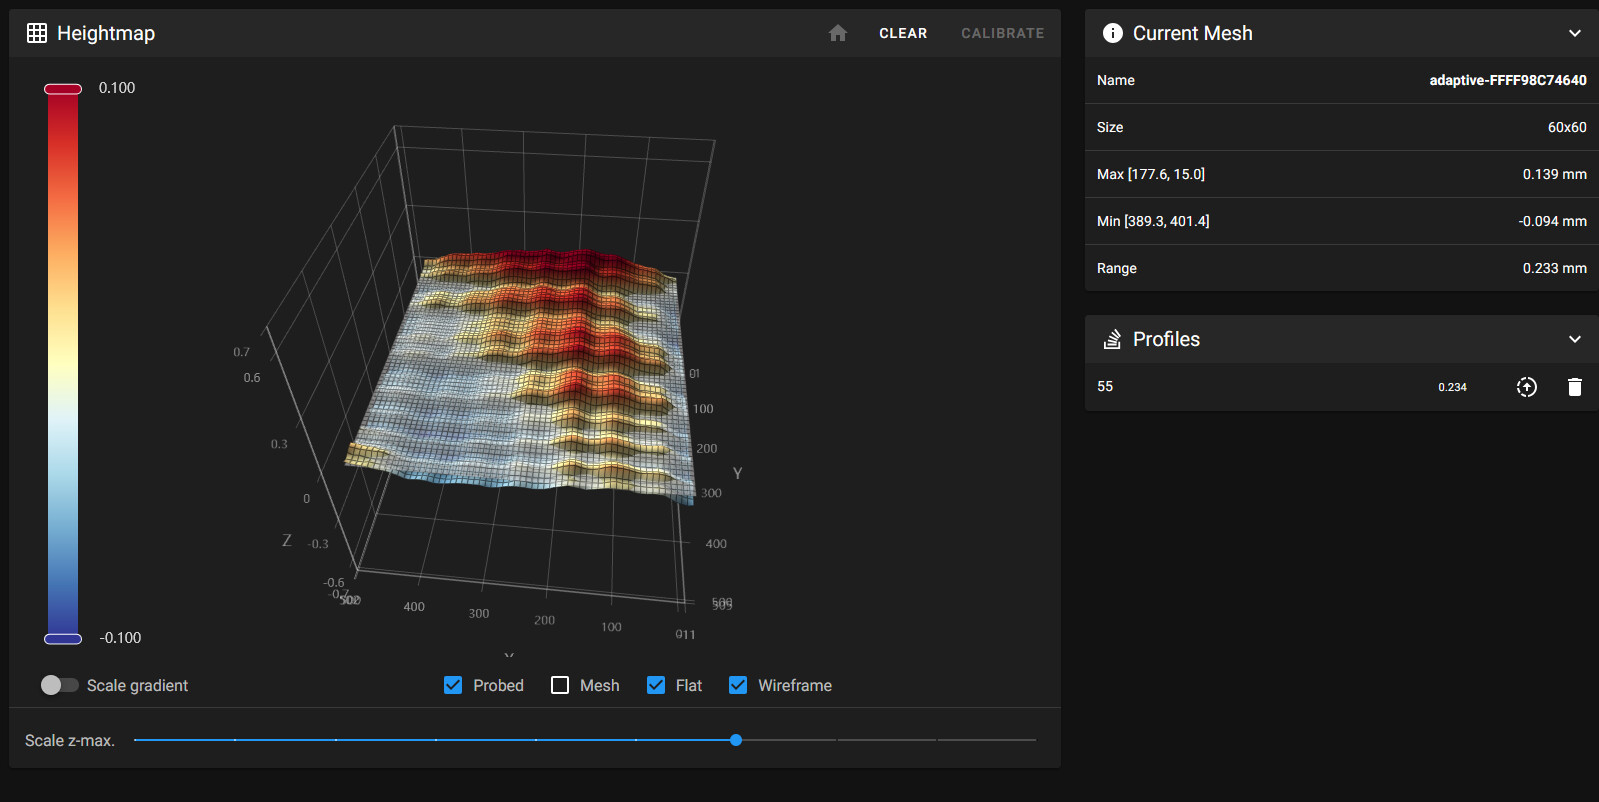
Your mesh could also be “tipped” a tiny bit.
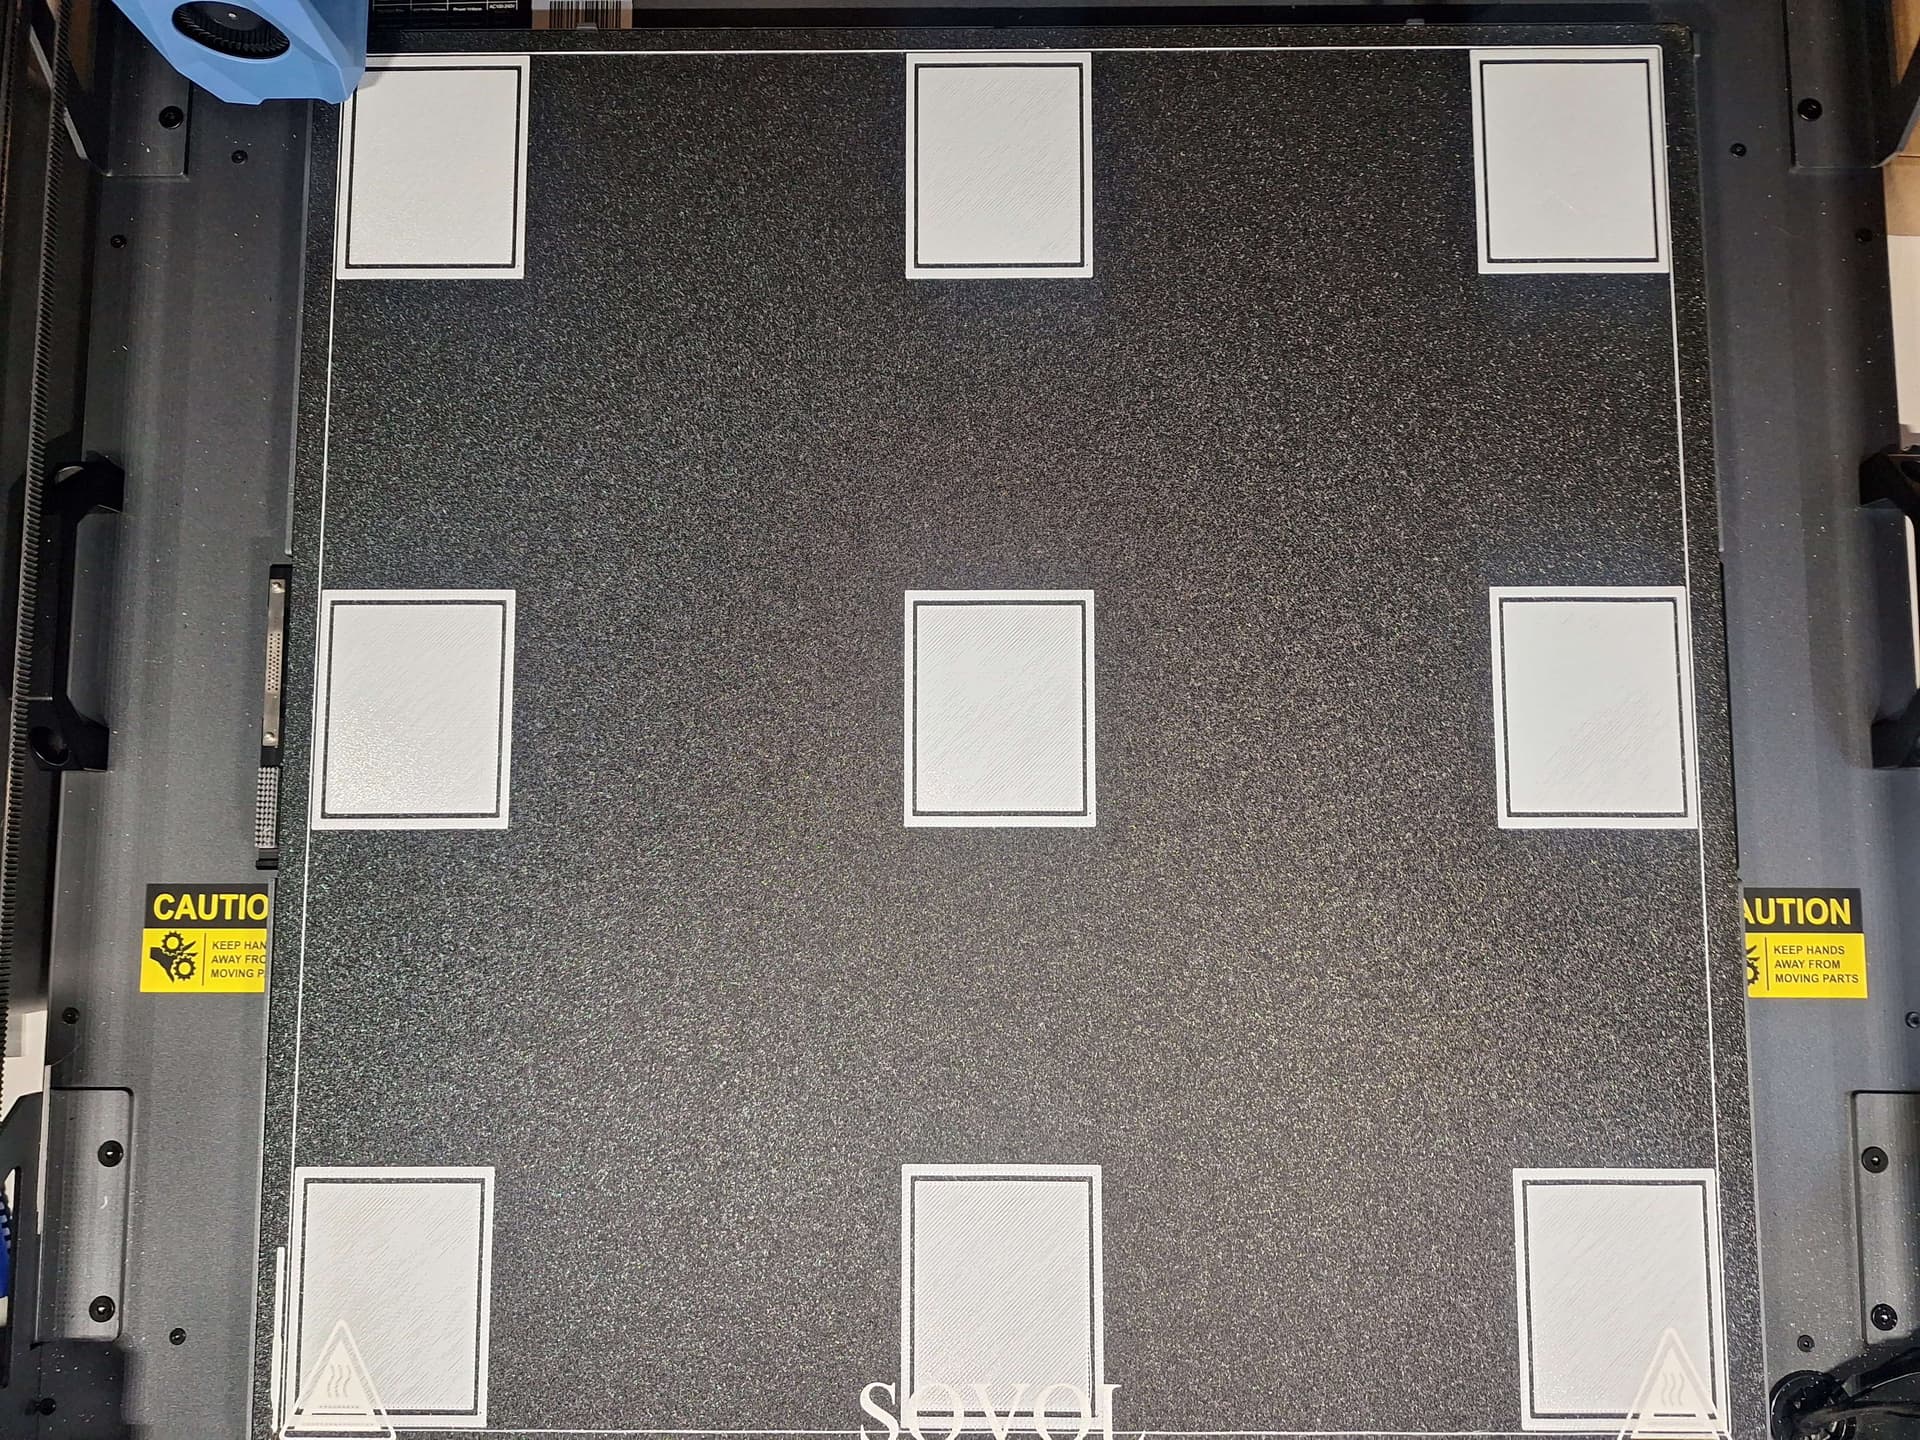
Try switching the solid infill to concentric and run another test print.
I doubt it, I’ve just did belt tension adjustment (tutorial below) and frequency was off by 70 Hz, after calibration and mapping I would try print again. I think that was it
I tighten the belts, calibrated K factor and flow rate. Same issue persist but not as intense as before, so could be there something else I could try?
Did you try these? Might help to sort out the issue.

I don’t think it’s for me.
@KoizumiChineko it’s probably for you.
Your print seems correct to me.
What more do you want?

It is a B+, very good but not excellent.
What is your first layer thickness? If you are at 0.2 or thinner then call is an A
Holding parallel planes within 3 or 4 microns across 500mm is not a trivial task.
0.25mm, if it is B+ I leave it as it is. I bought this printer for large prints for smaller ones I have my X1C. Thank you for help
For a dedicated “Big Print” machine I’d go to a .6 nozzle and a .4 initial layer. The bigger nozzle sacrifices very little wall detail. Unless your printing super detail on the top surface you’ll be golden.
@sovol3d I revoked “Solution mark“ because I found root cause. Nozzle has wrong offset (my default 3.5mm is off by -0.09mm) and setting it manually in printer.cfg has no effect even when is set from Klipper screen via manual z offset calibration.
I used filament gCode override, and I think that printer.cfg change has no effect on Z offset is a bug.

Review the Zero forum. I assume Sovol has carried forward most of the macros. On the Zero a Z offset is created by the [z_offset_calibration] Macro (If I recall correctly) with a “hard coded” offset above the point the macro detects nozzle contact.
The process is essentially the same as EddyNG (but apparently rewritten from scratch)